
1990 964 C2 Cab Installation
This installation was done on a 1990 964 C2 Cab. The process may be slightly different depending on your specific vehicle and equipment.
Open your spoiler all the way using the manual control inside the car.
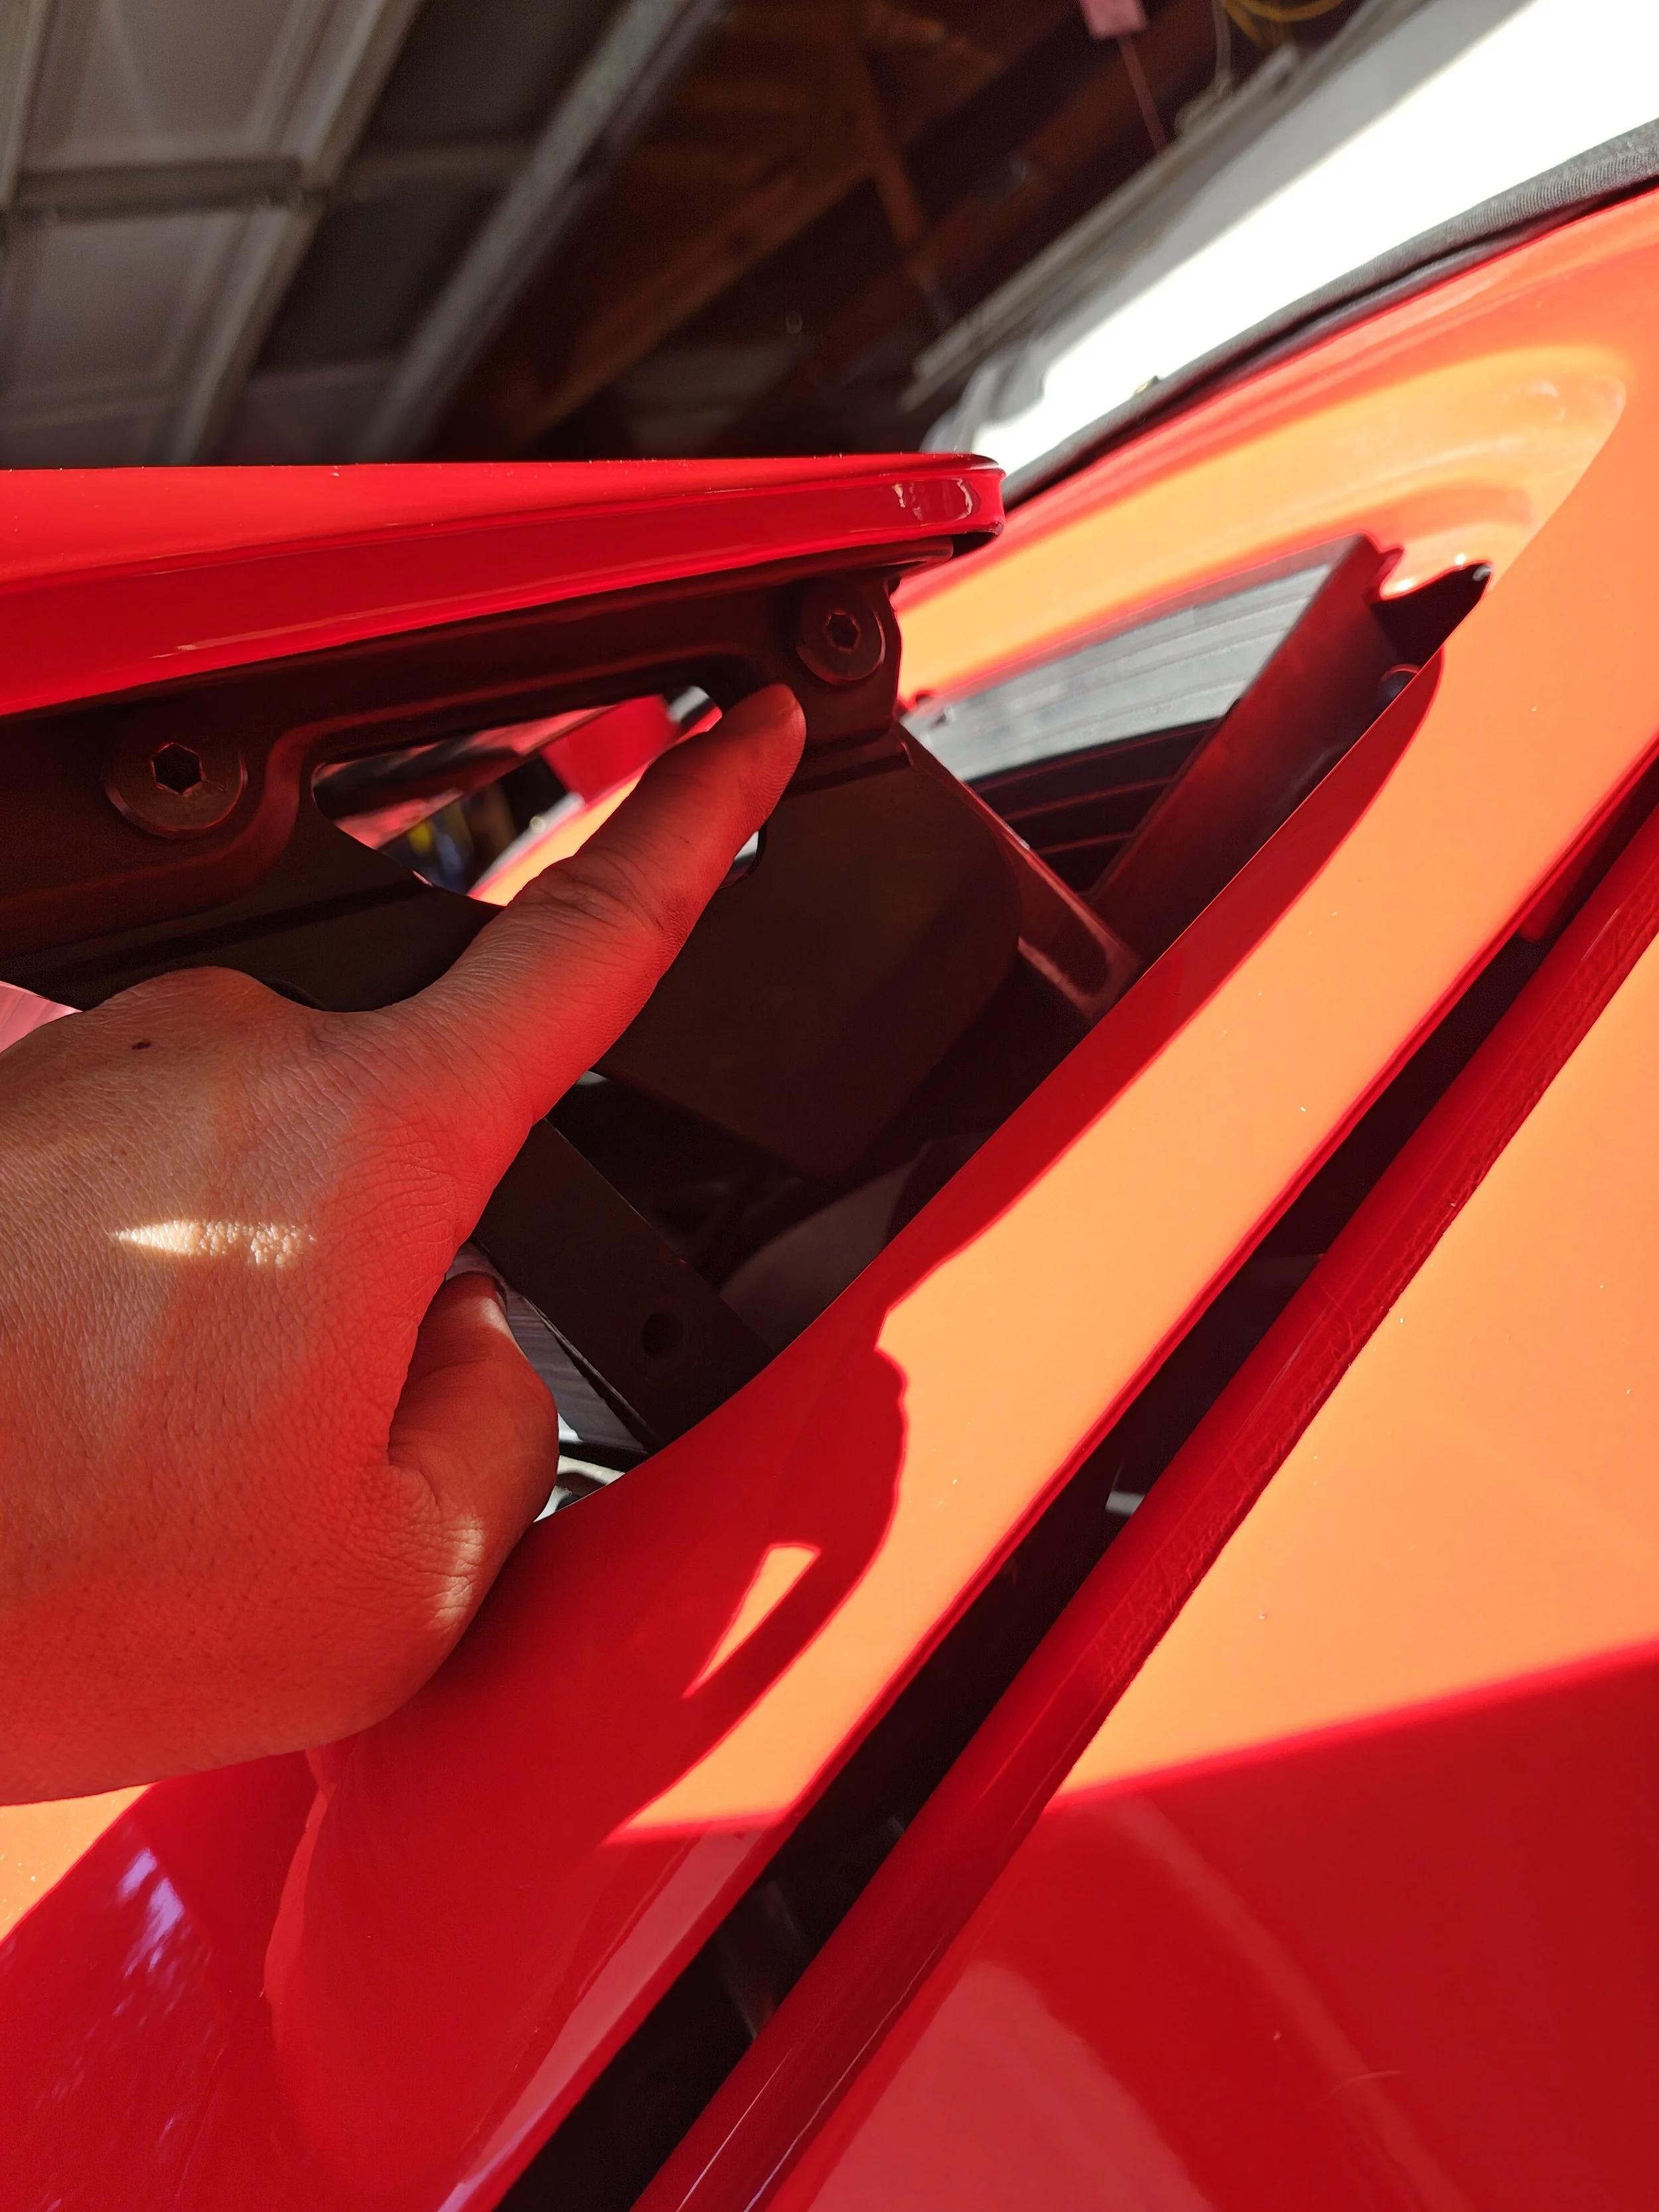
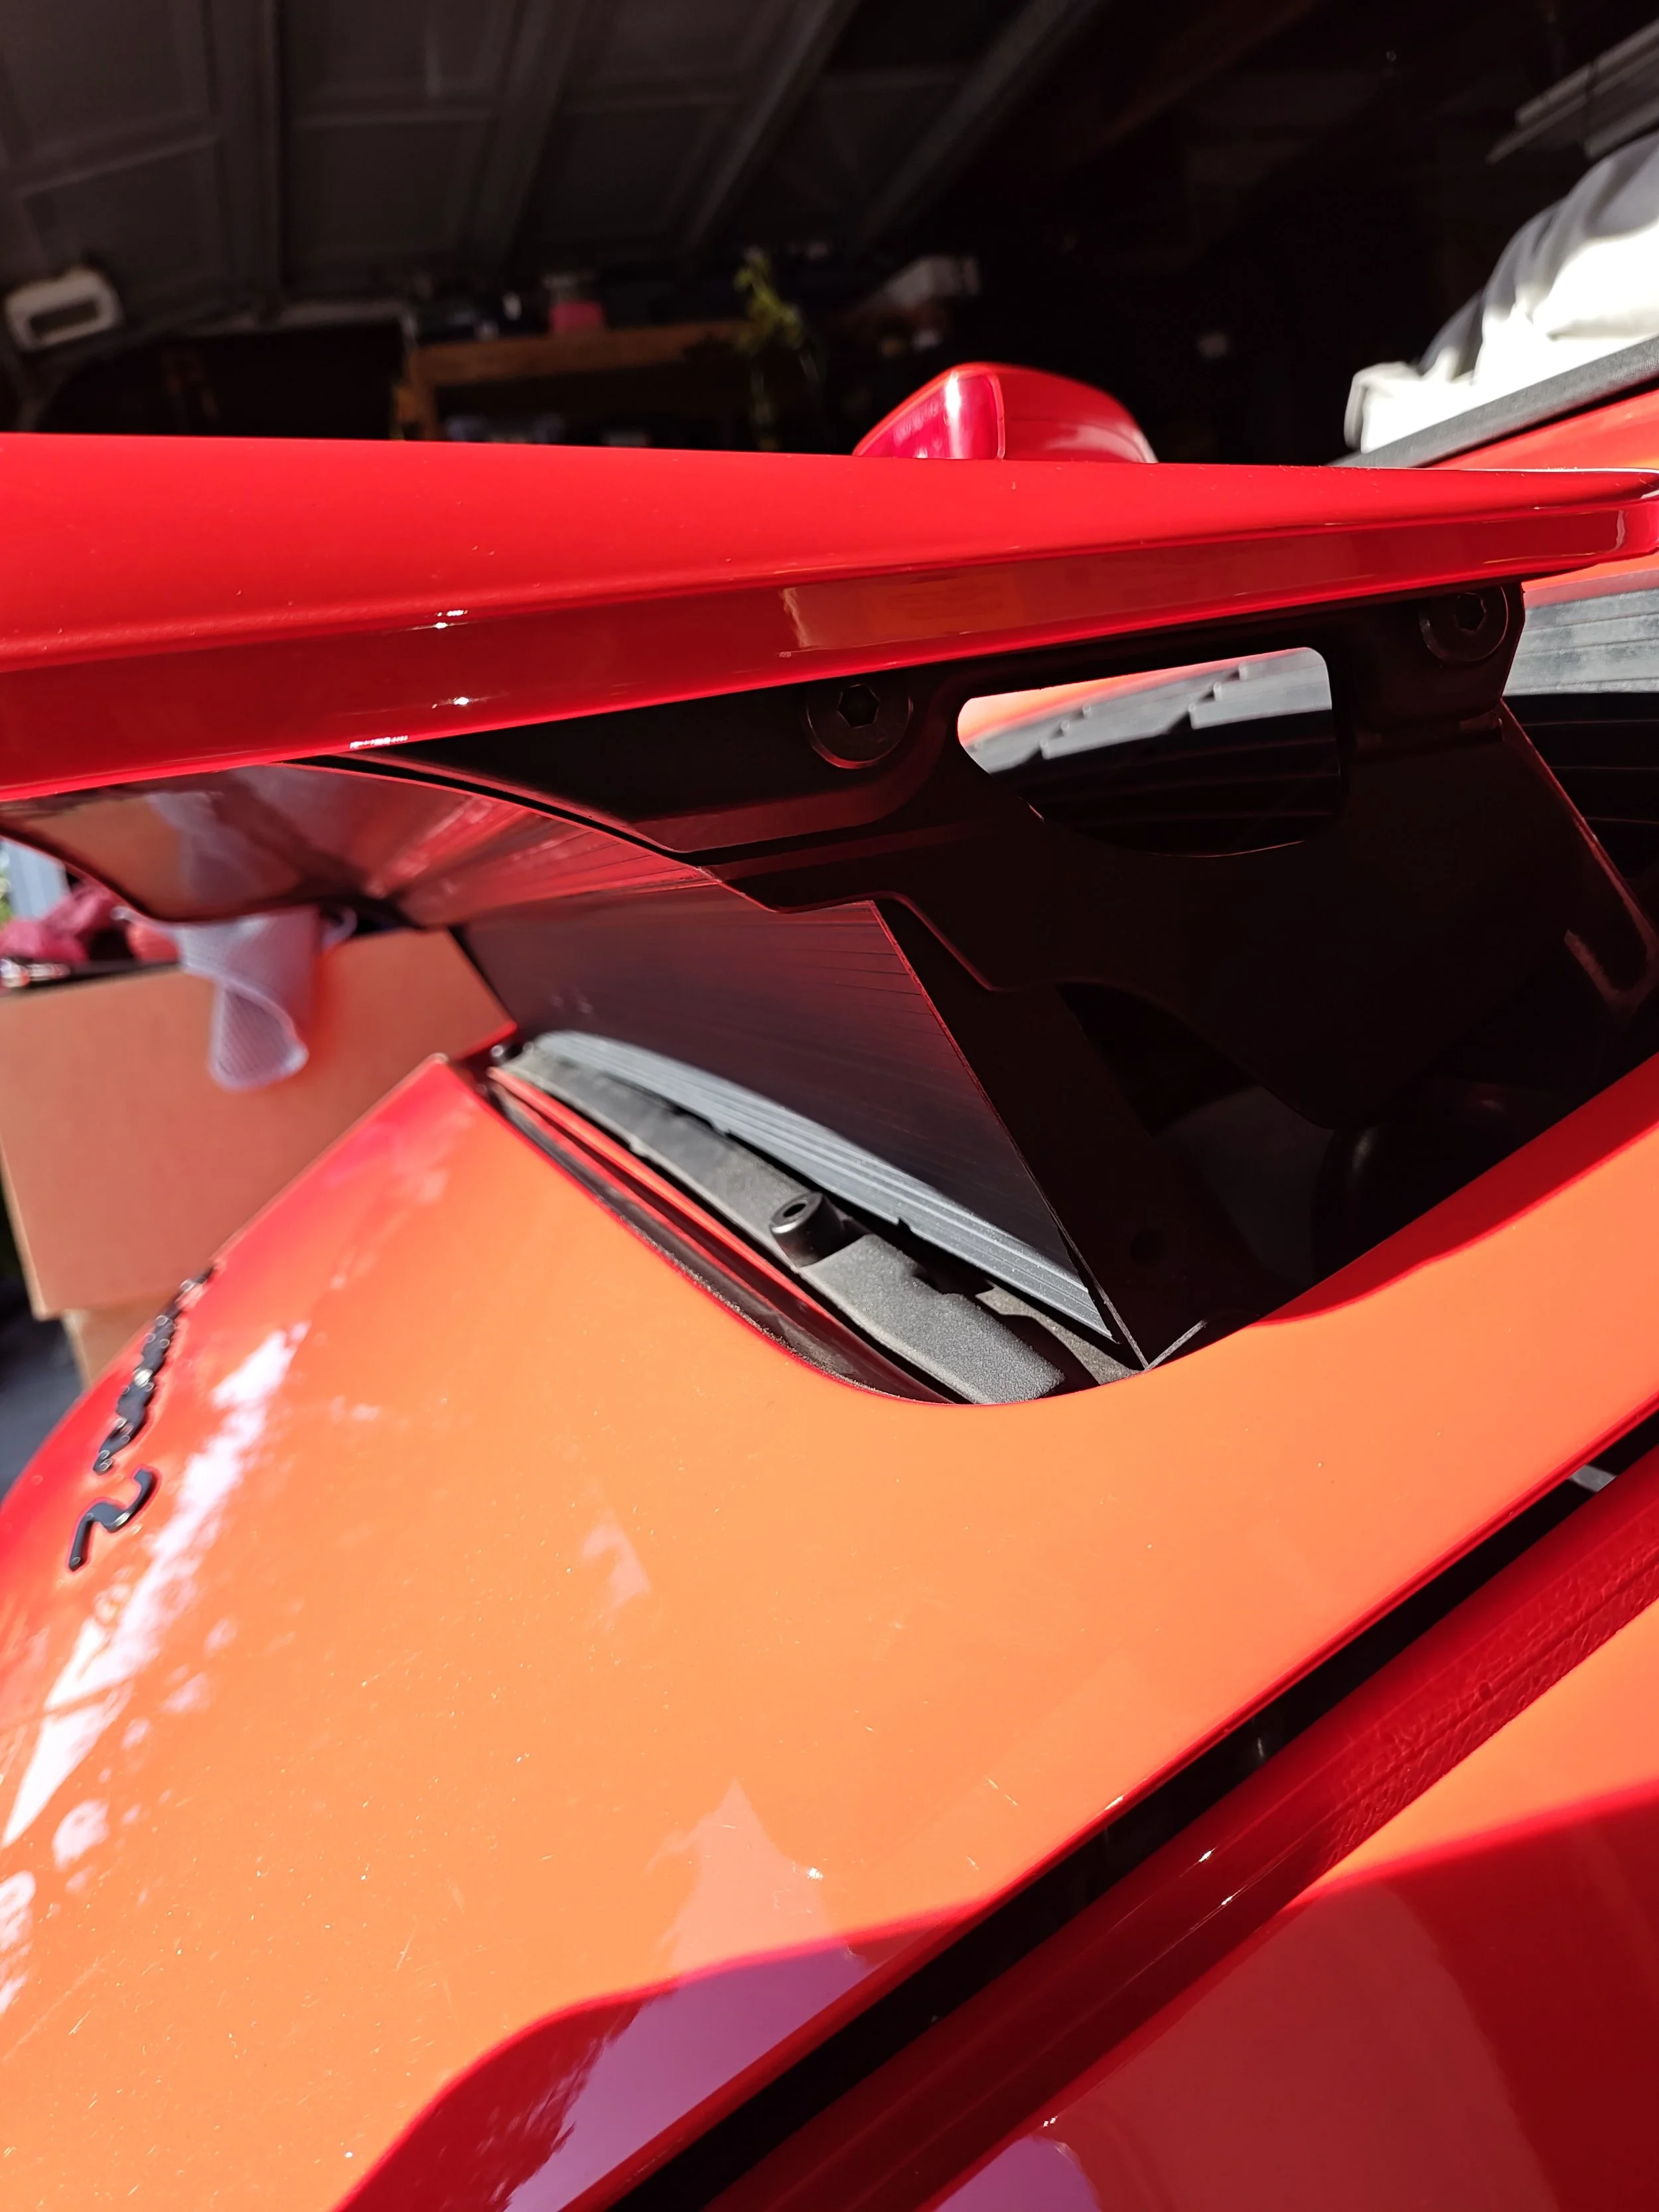
For easiest access to the under side I suggest removing this screw on both sides. You'll need a 5mm Allen wrench, bit or socket. I used a 5mm Allen socket.
Use a towel between your tool and the spoiler so you do not accidentally damage the paint.
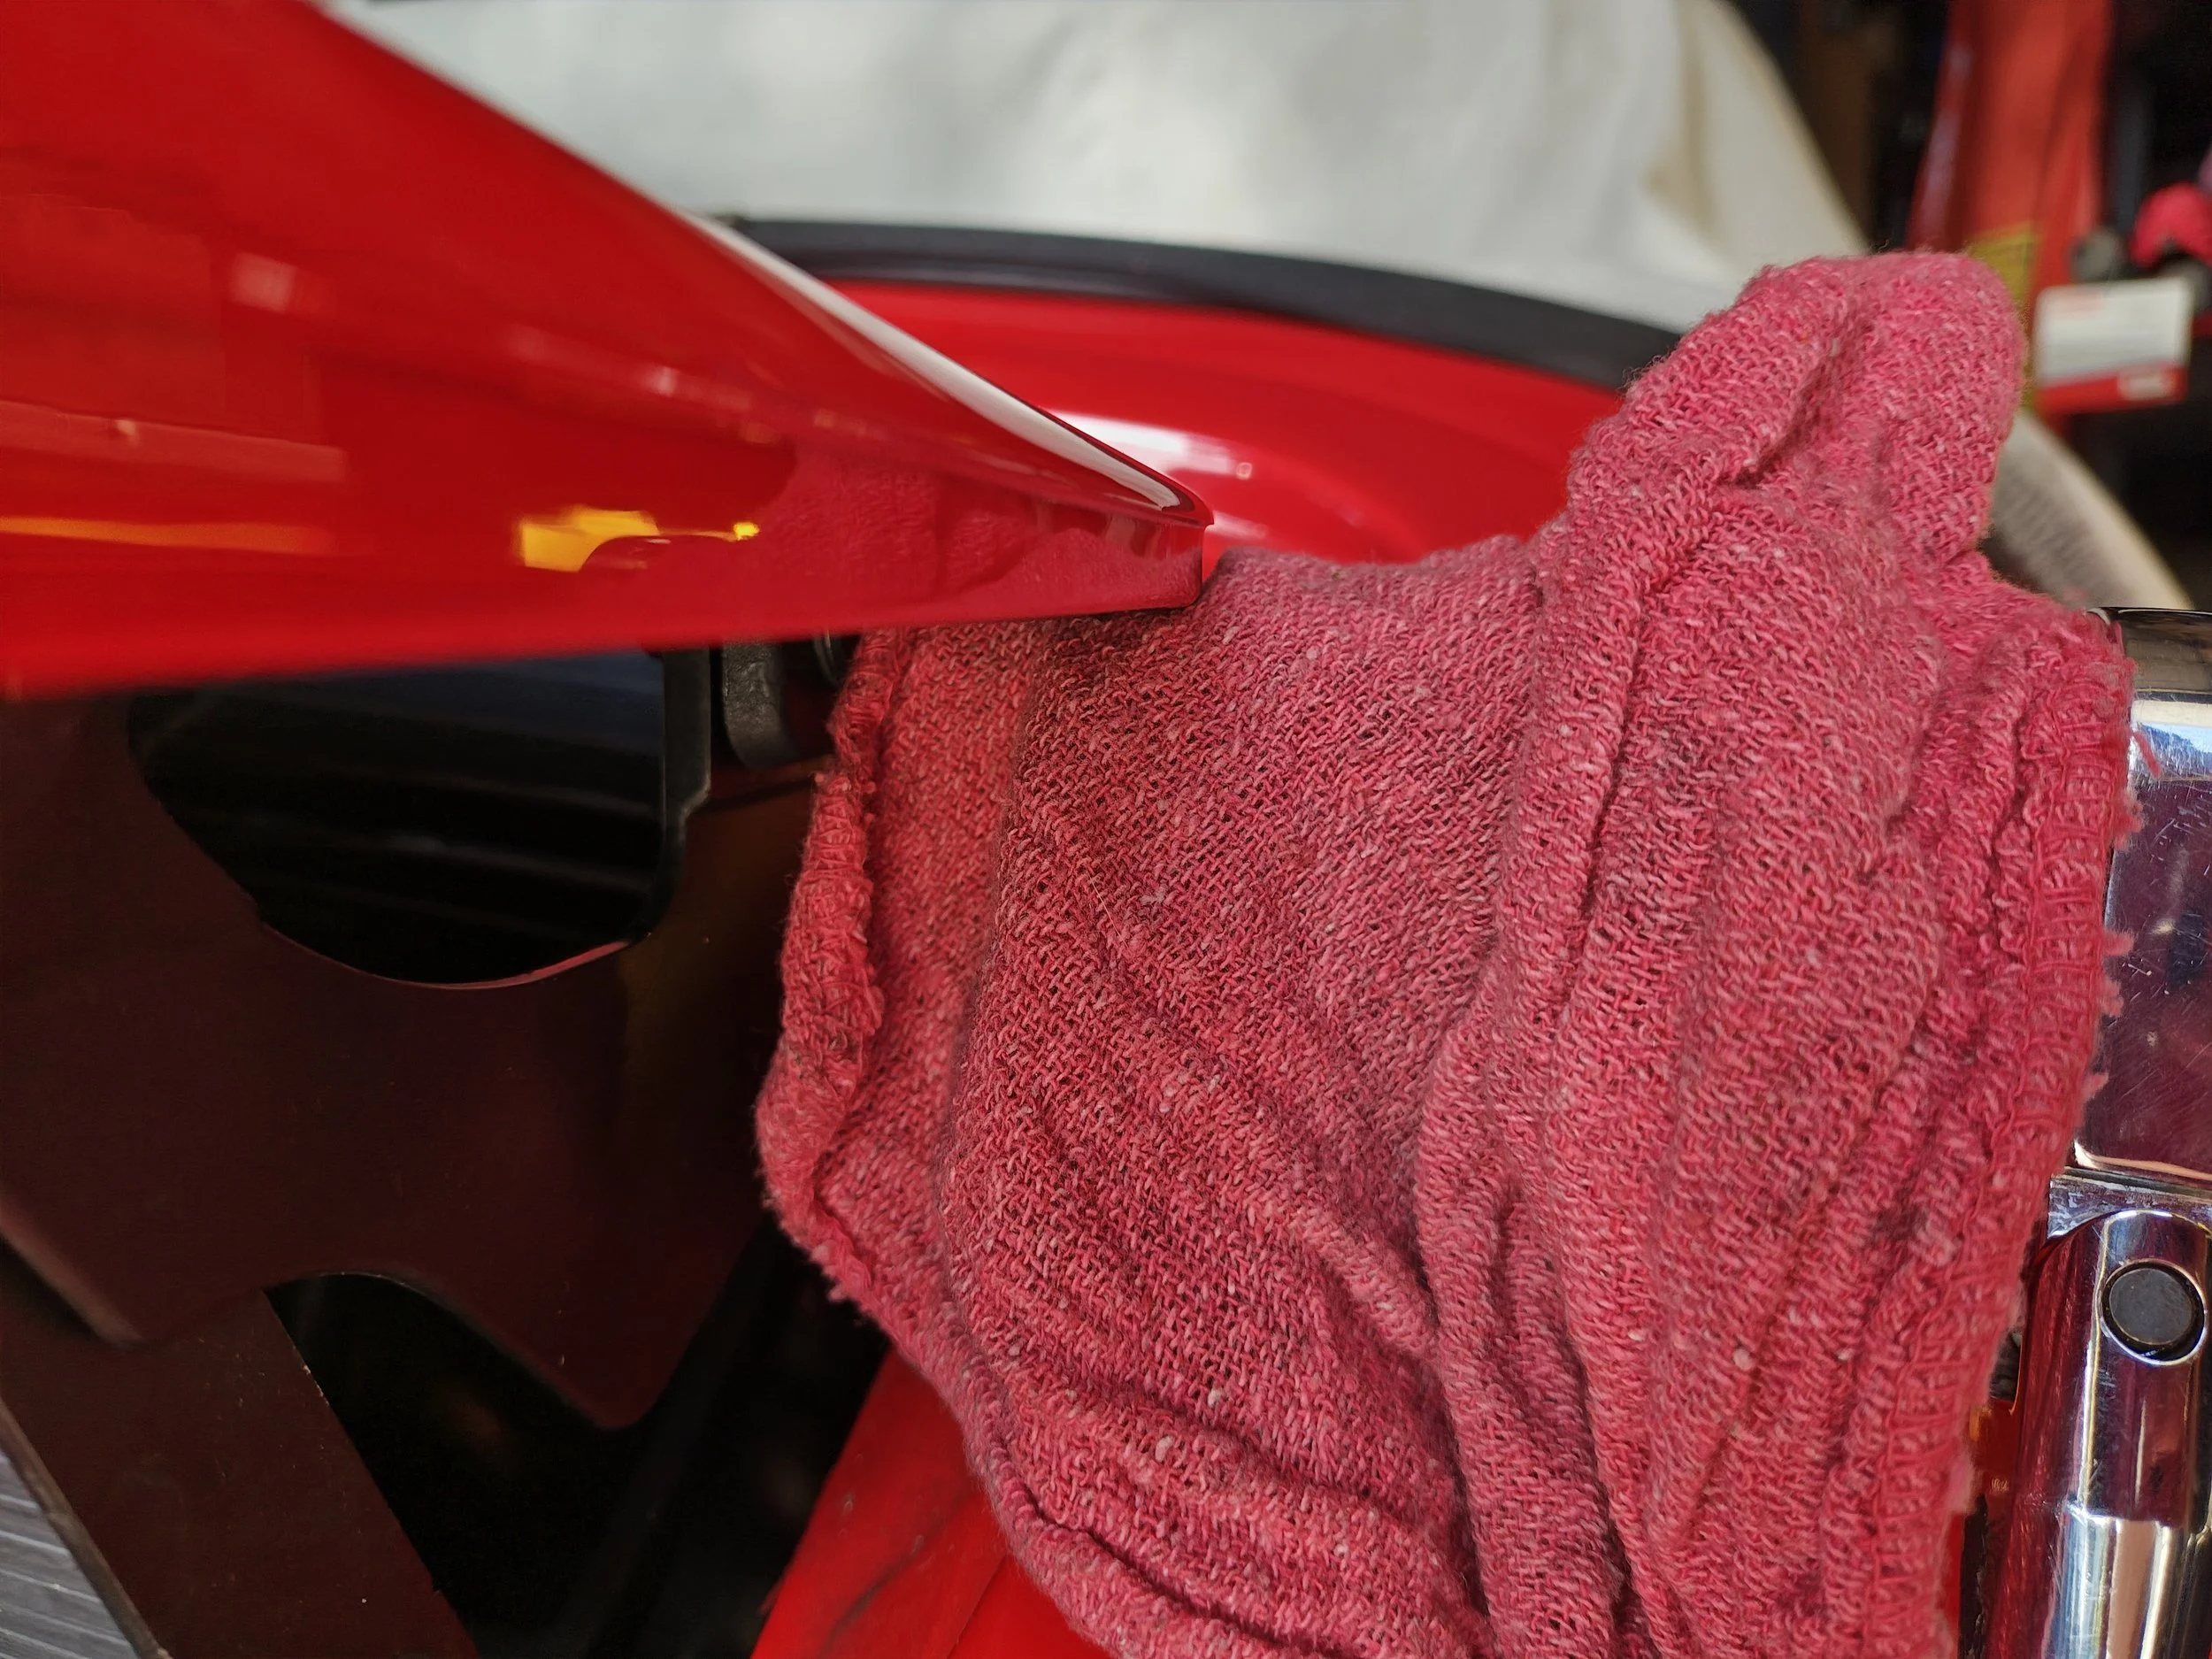
After you remove the 2nd bolt, support the wing. I suggest putting a rag under the center to prevent it from rubbing against the hood.
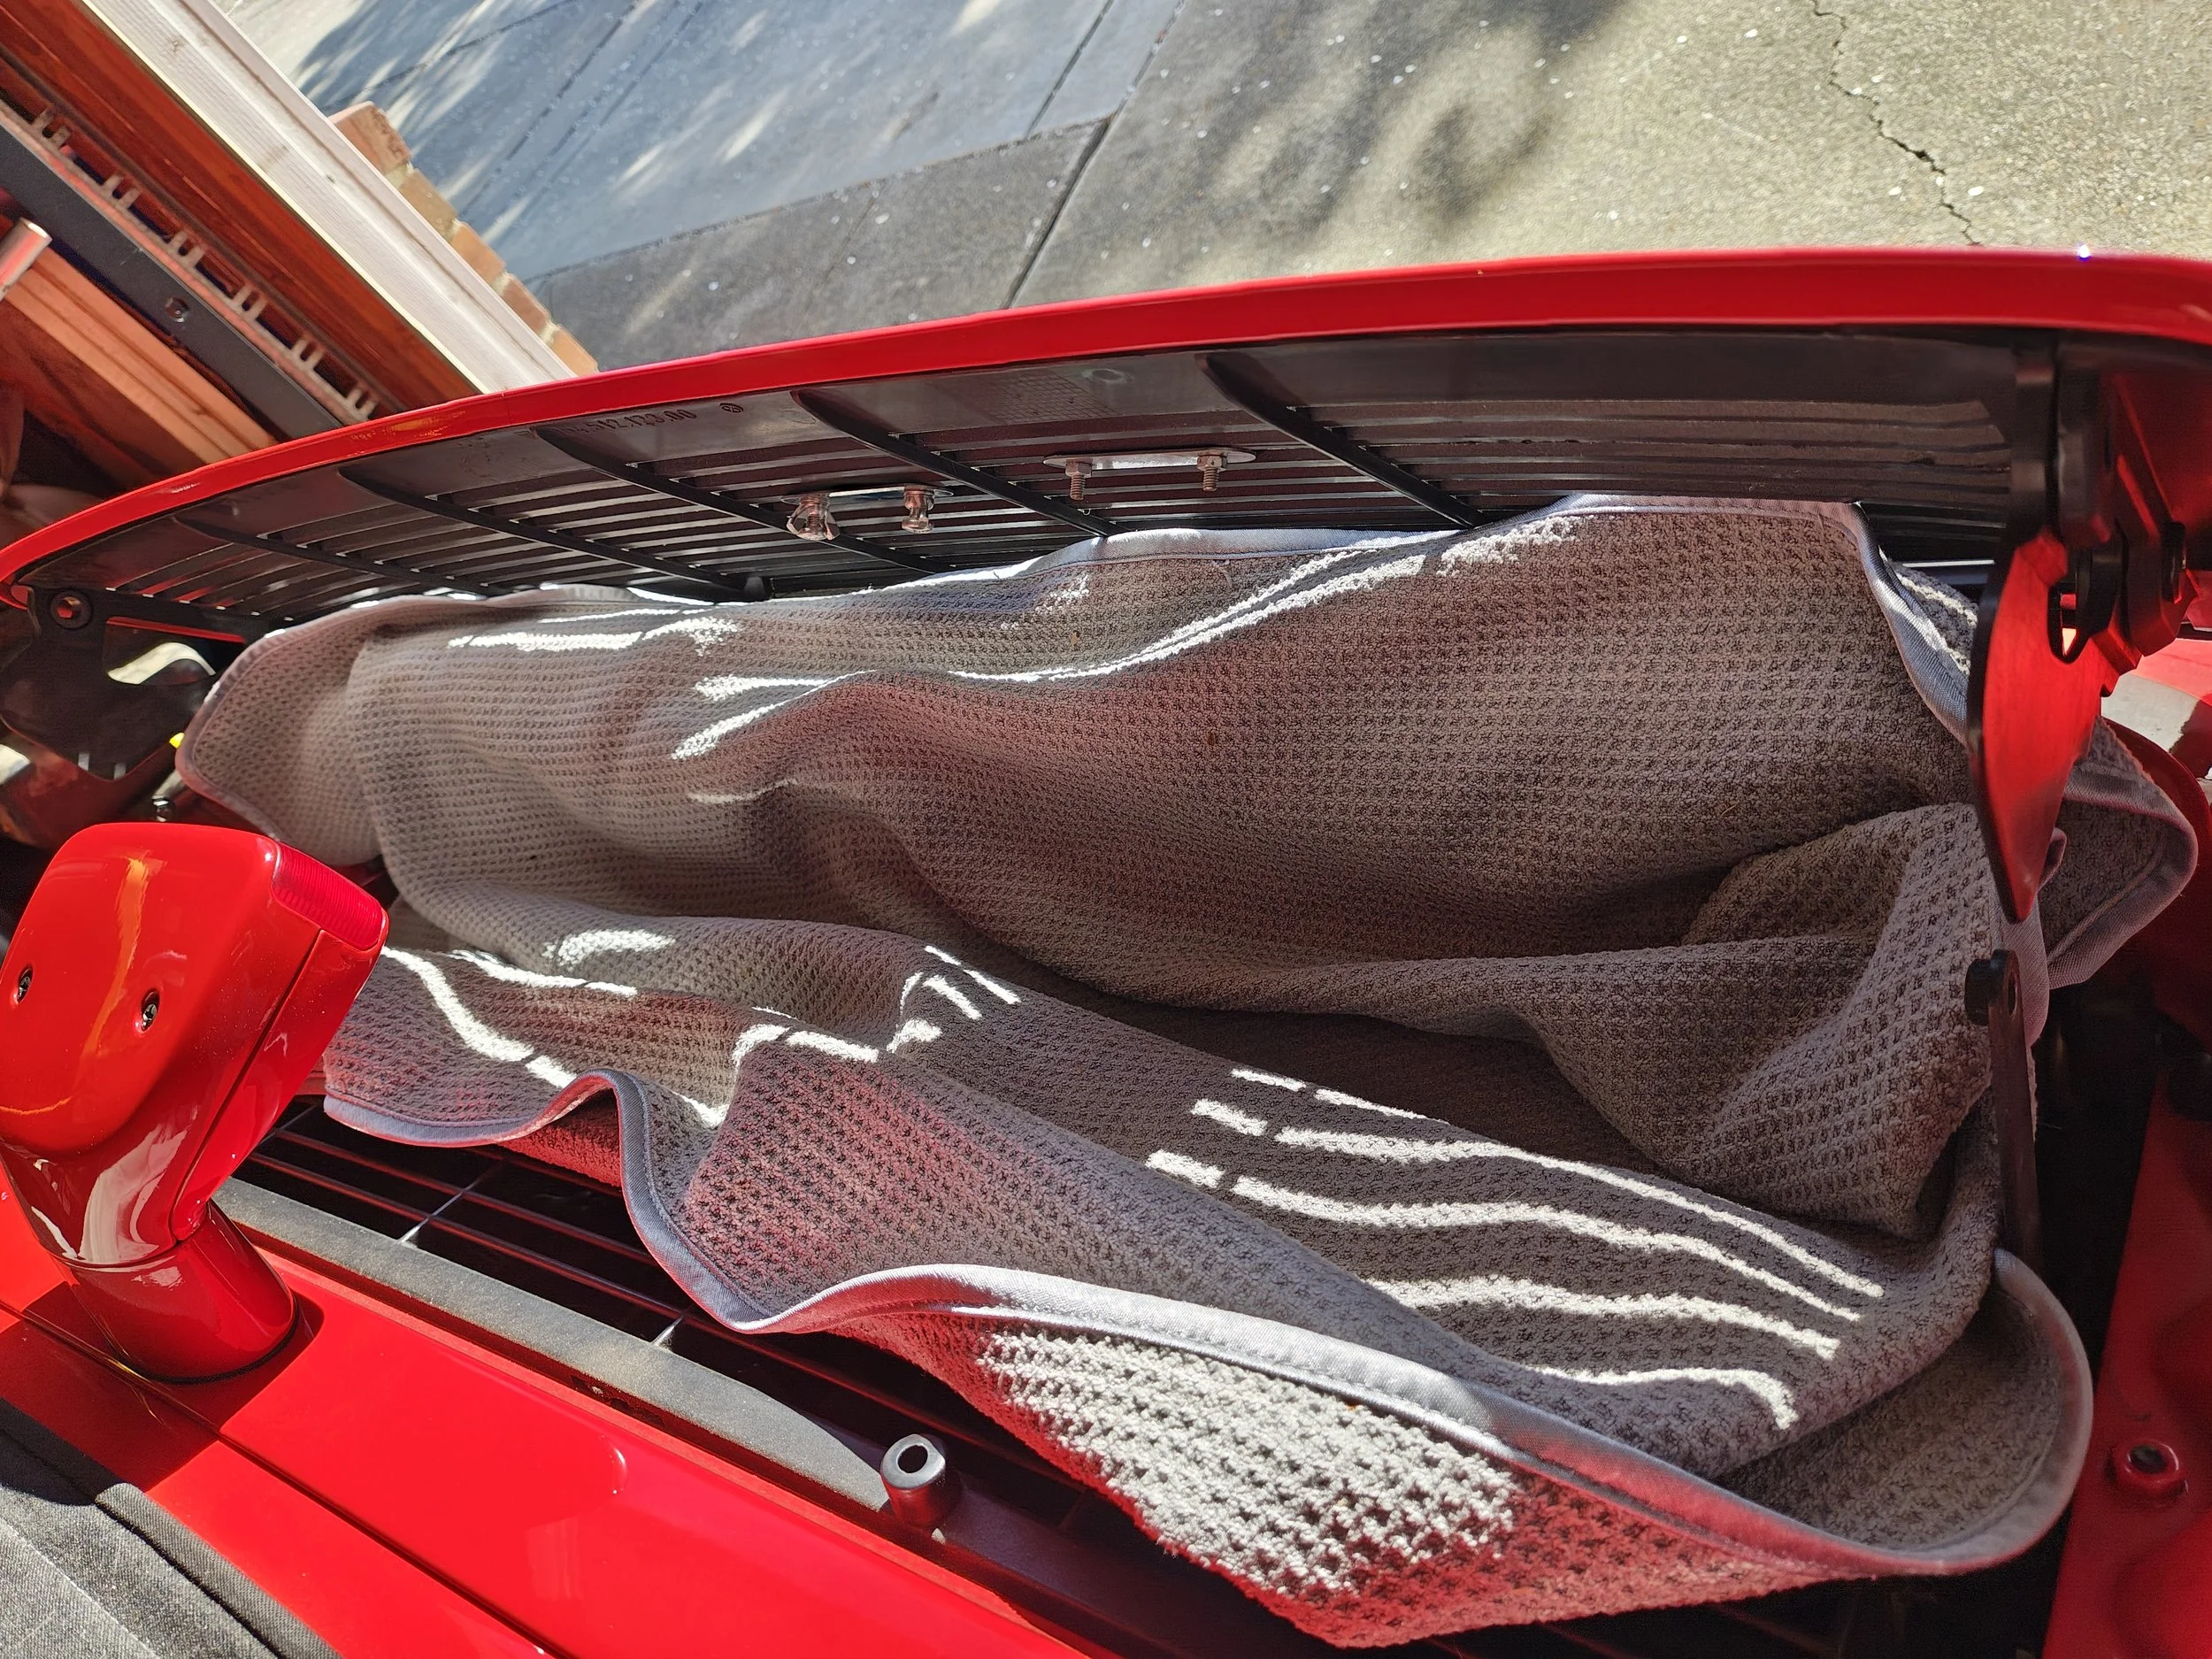
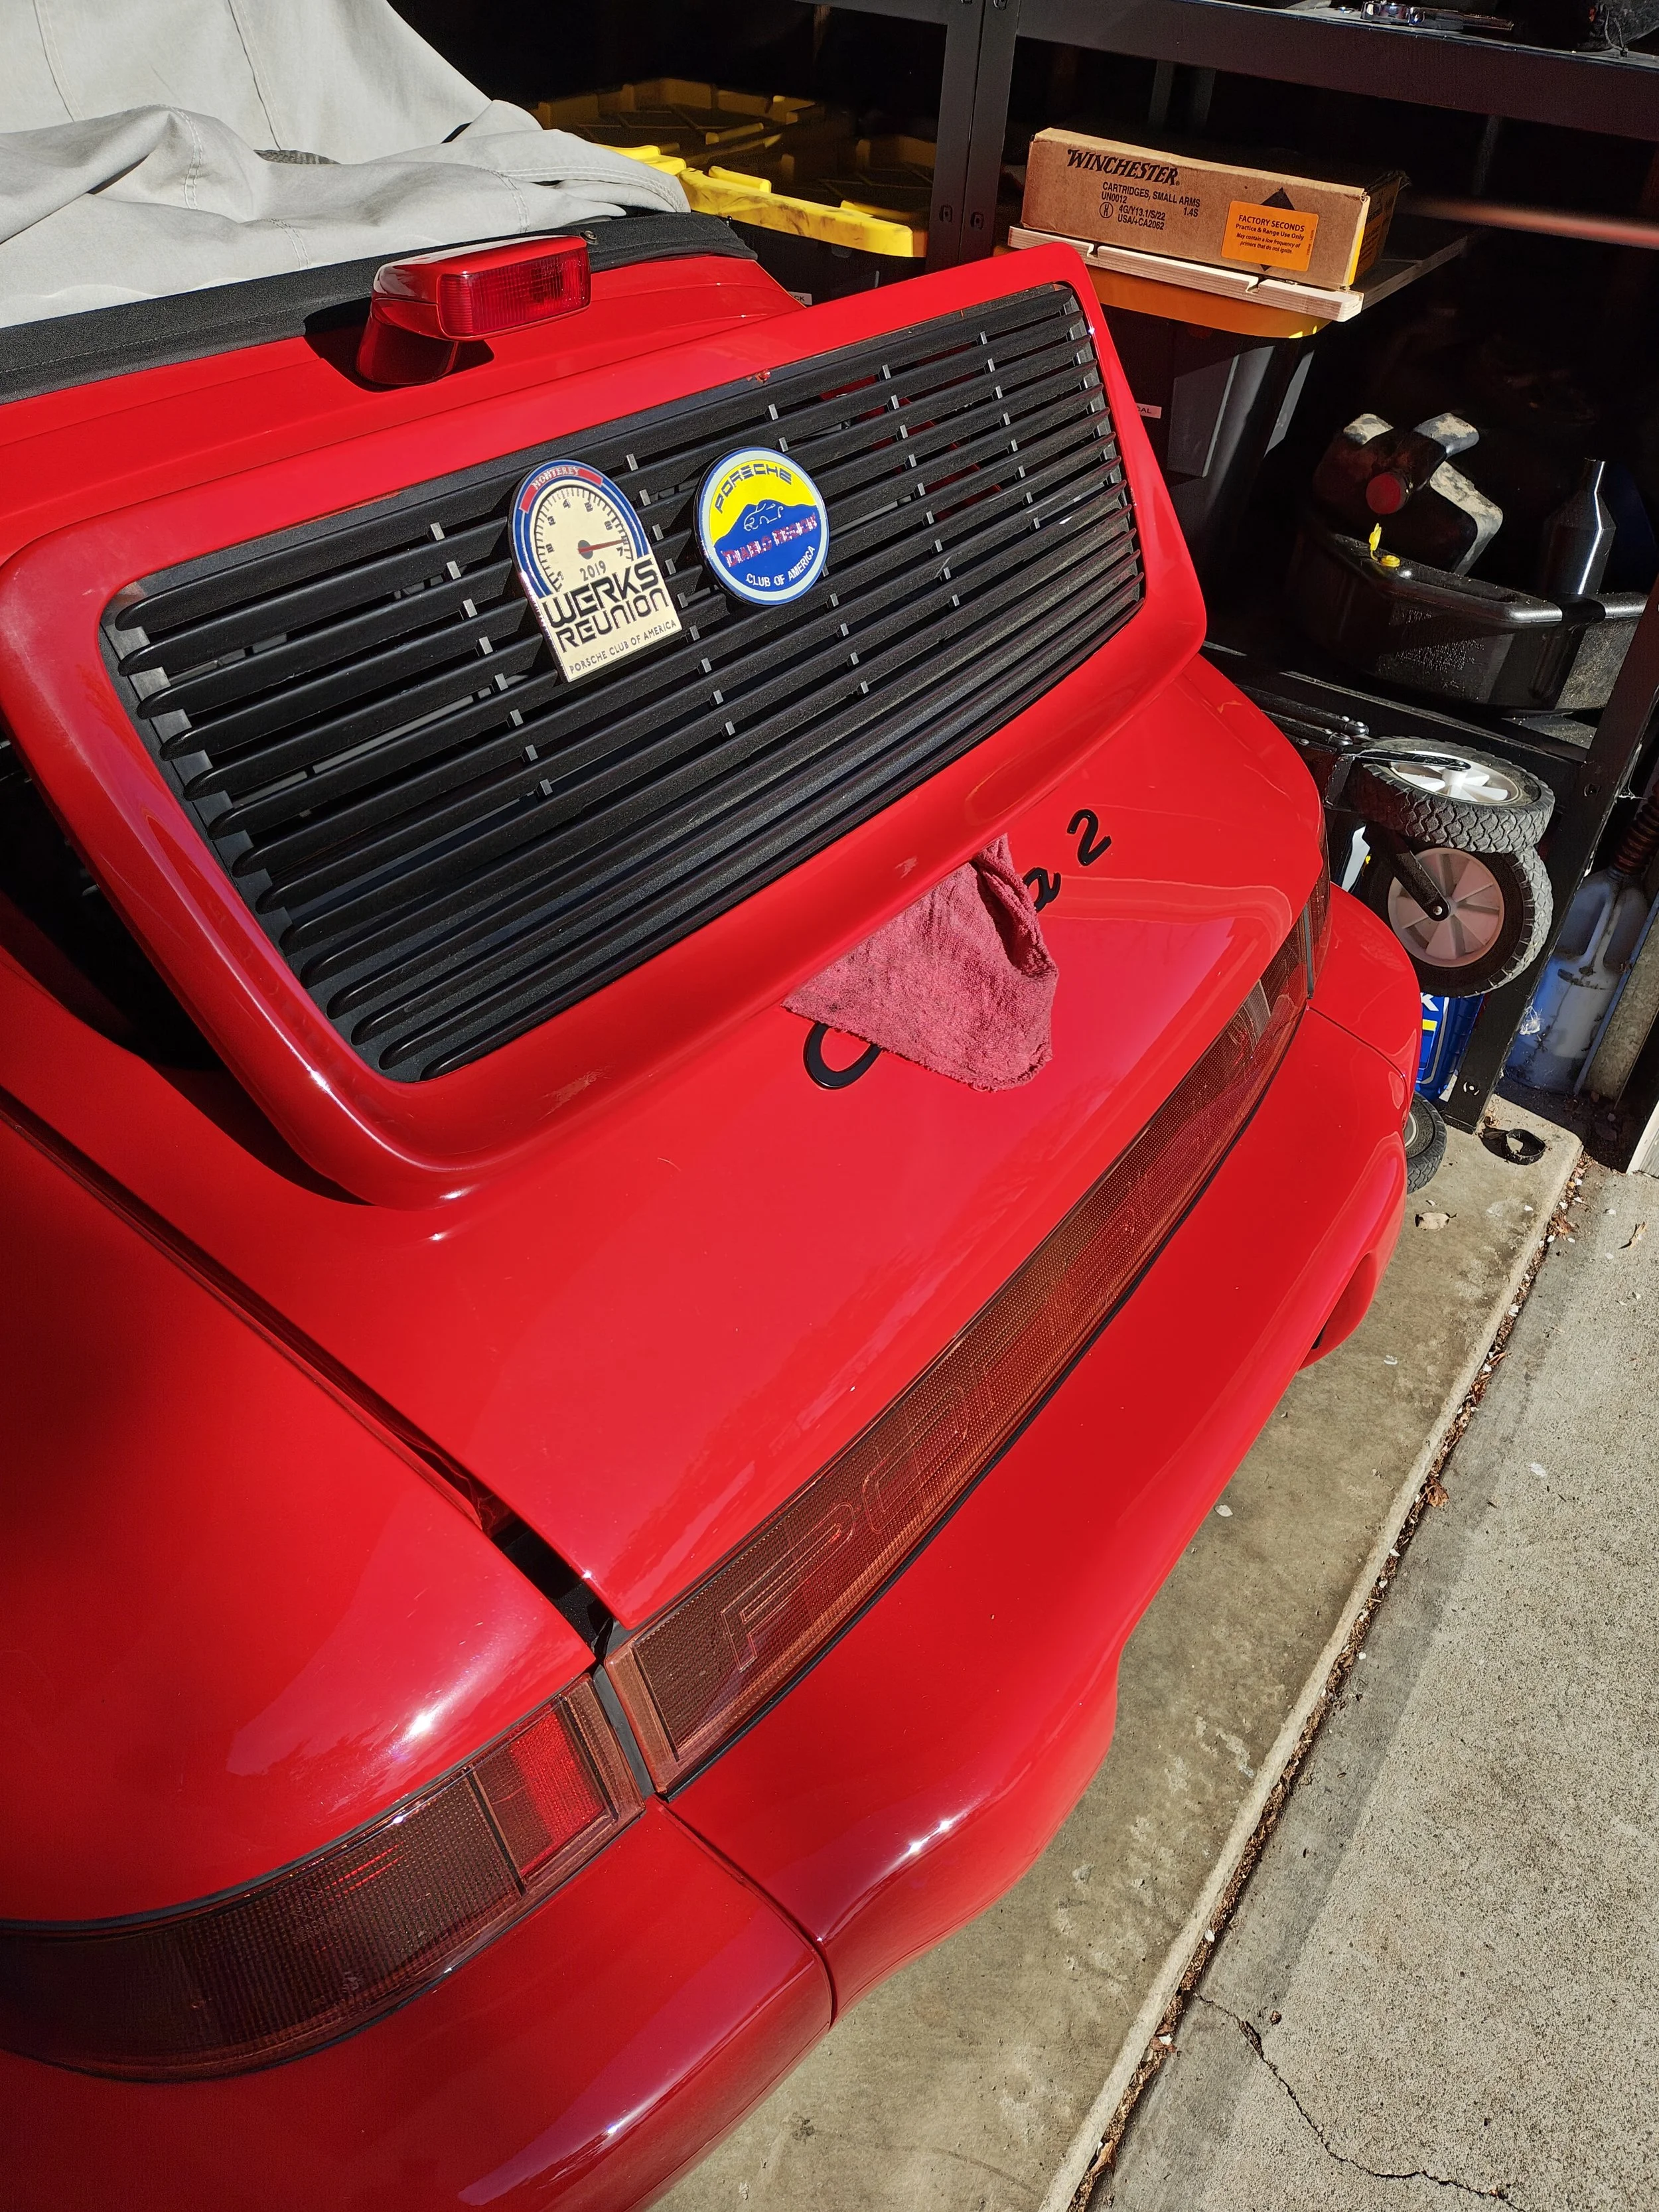
I suggest stuffing a towel in this area as you may drop screws and this prevents them from falling into the engine bay. It sucks.
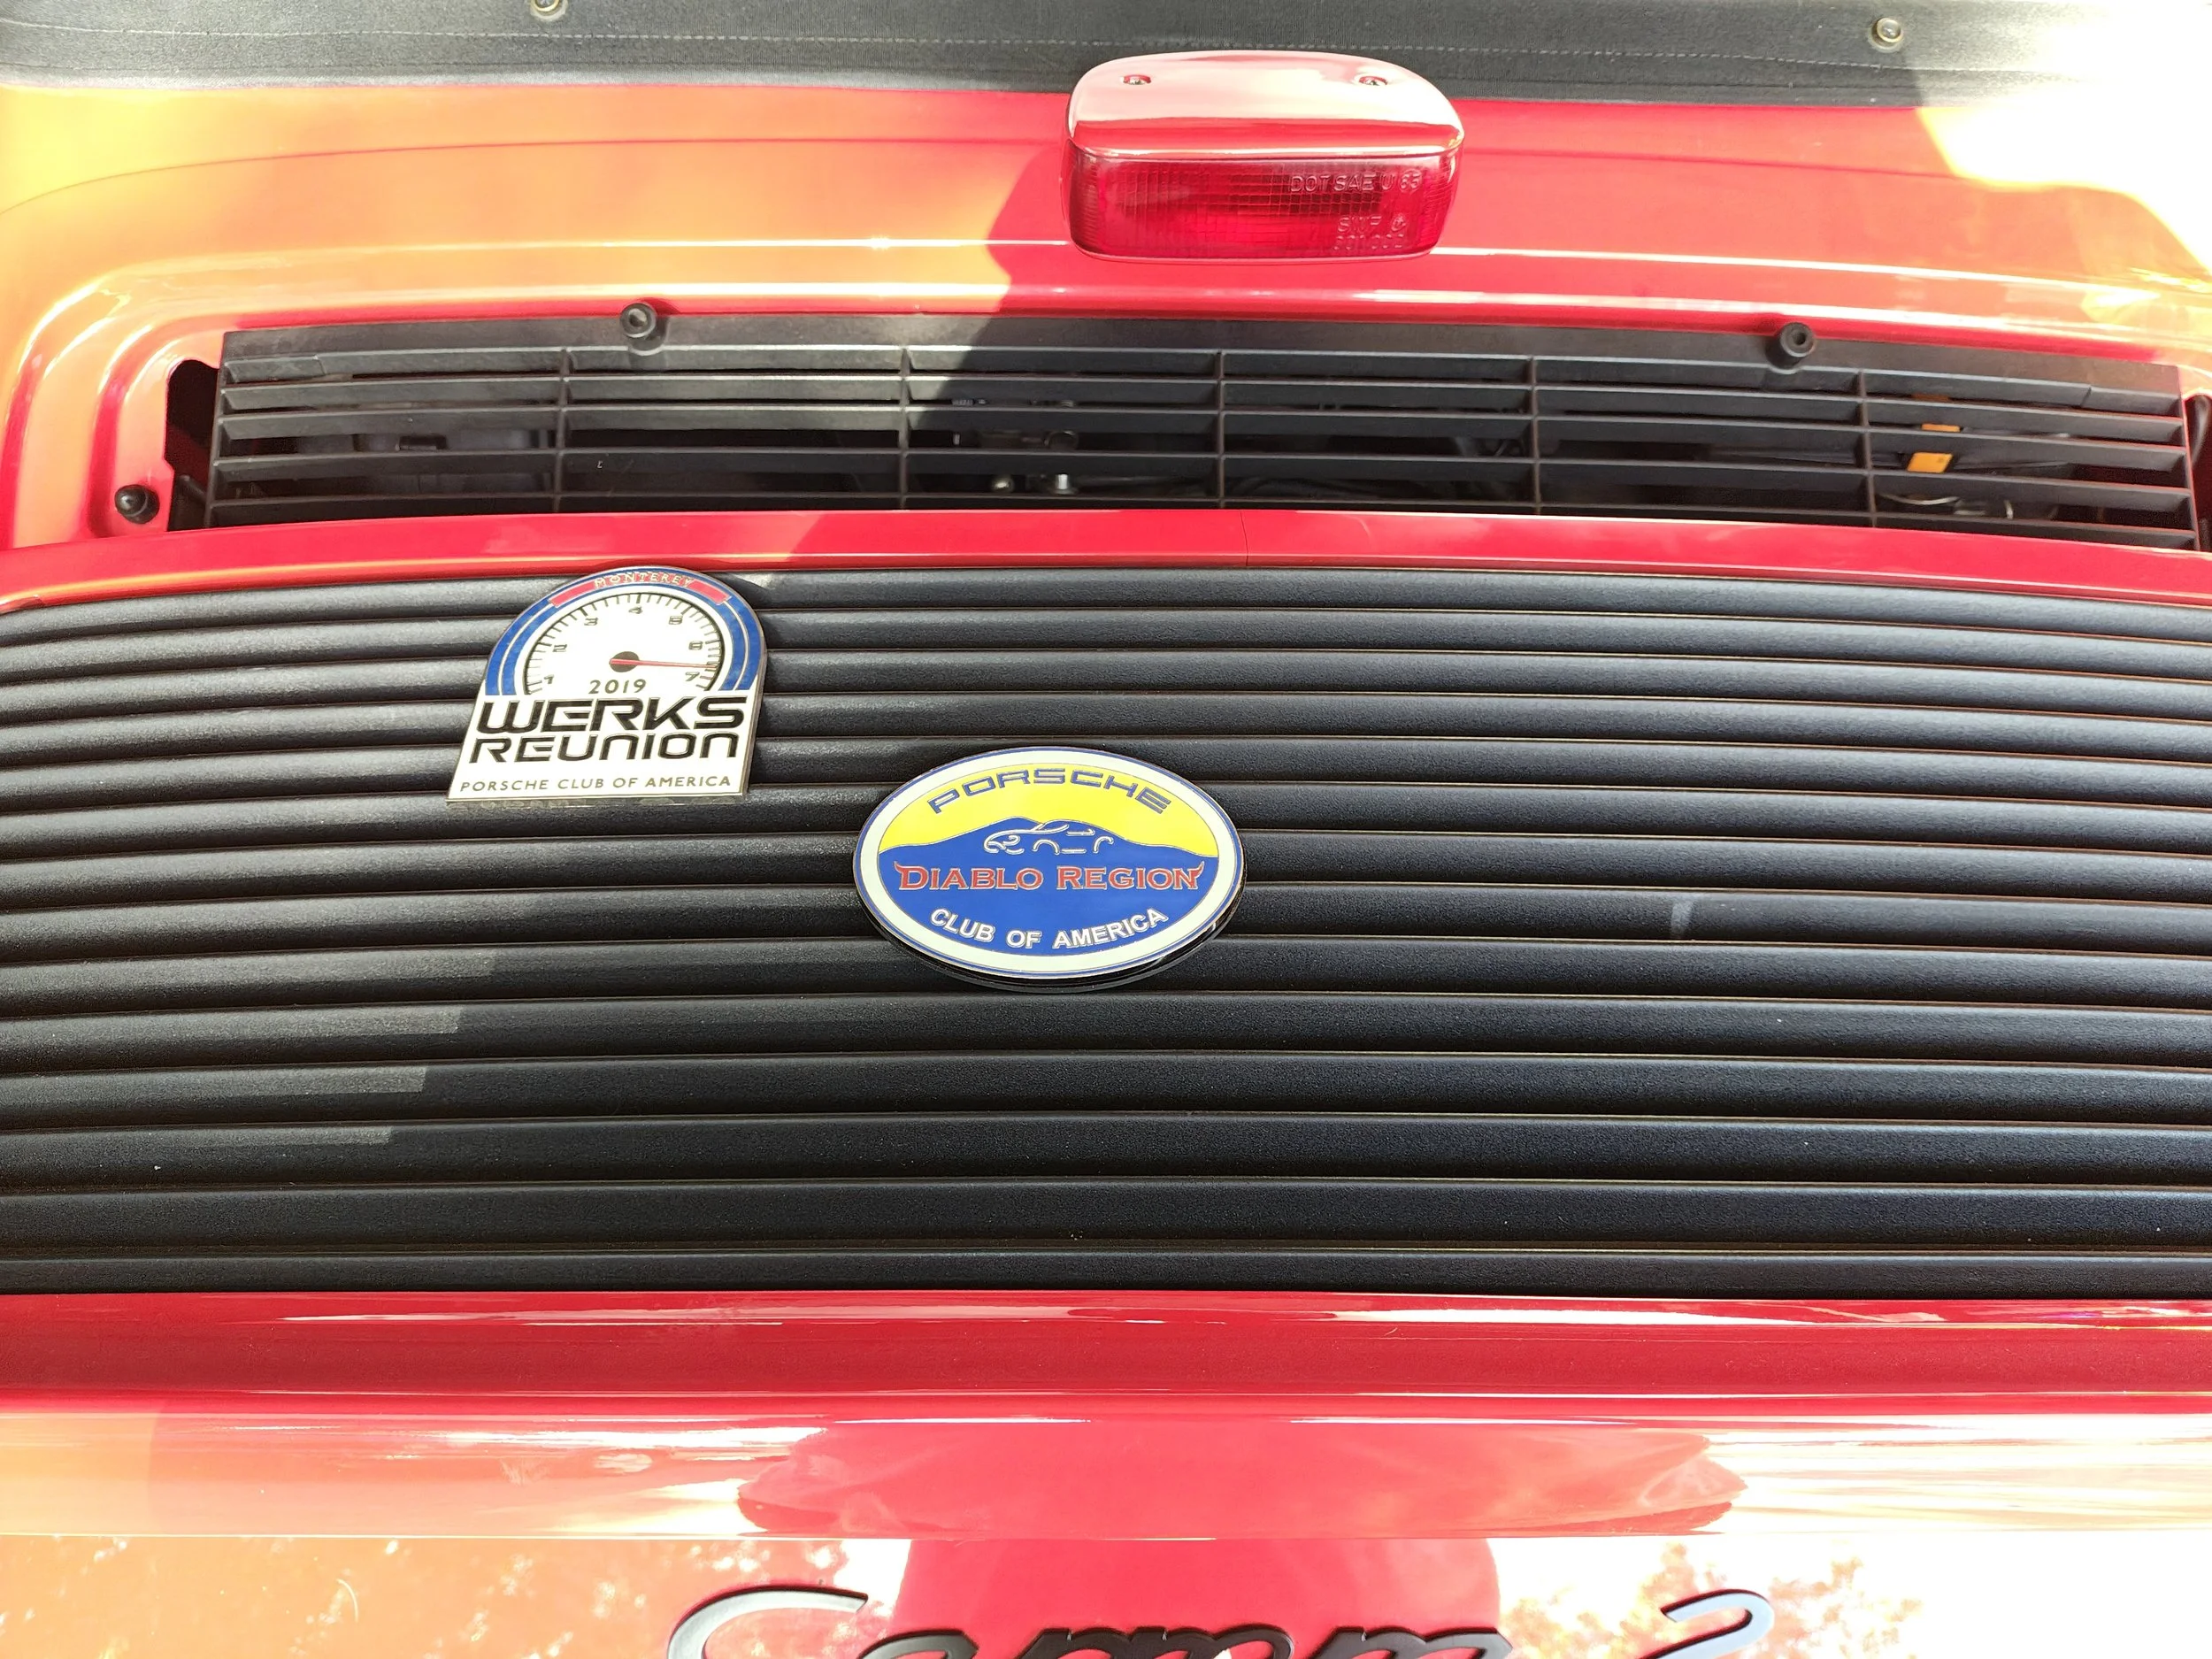
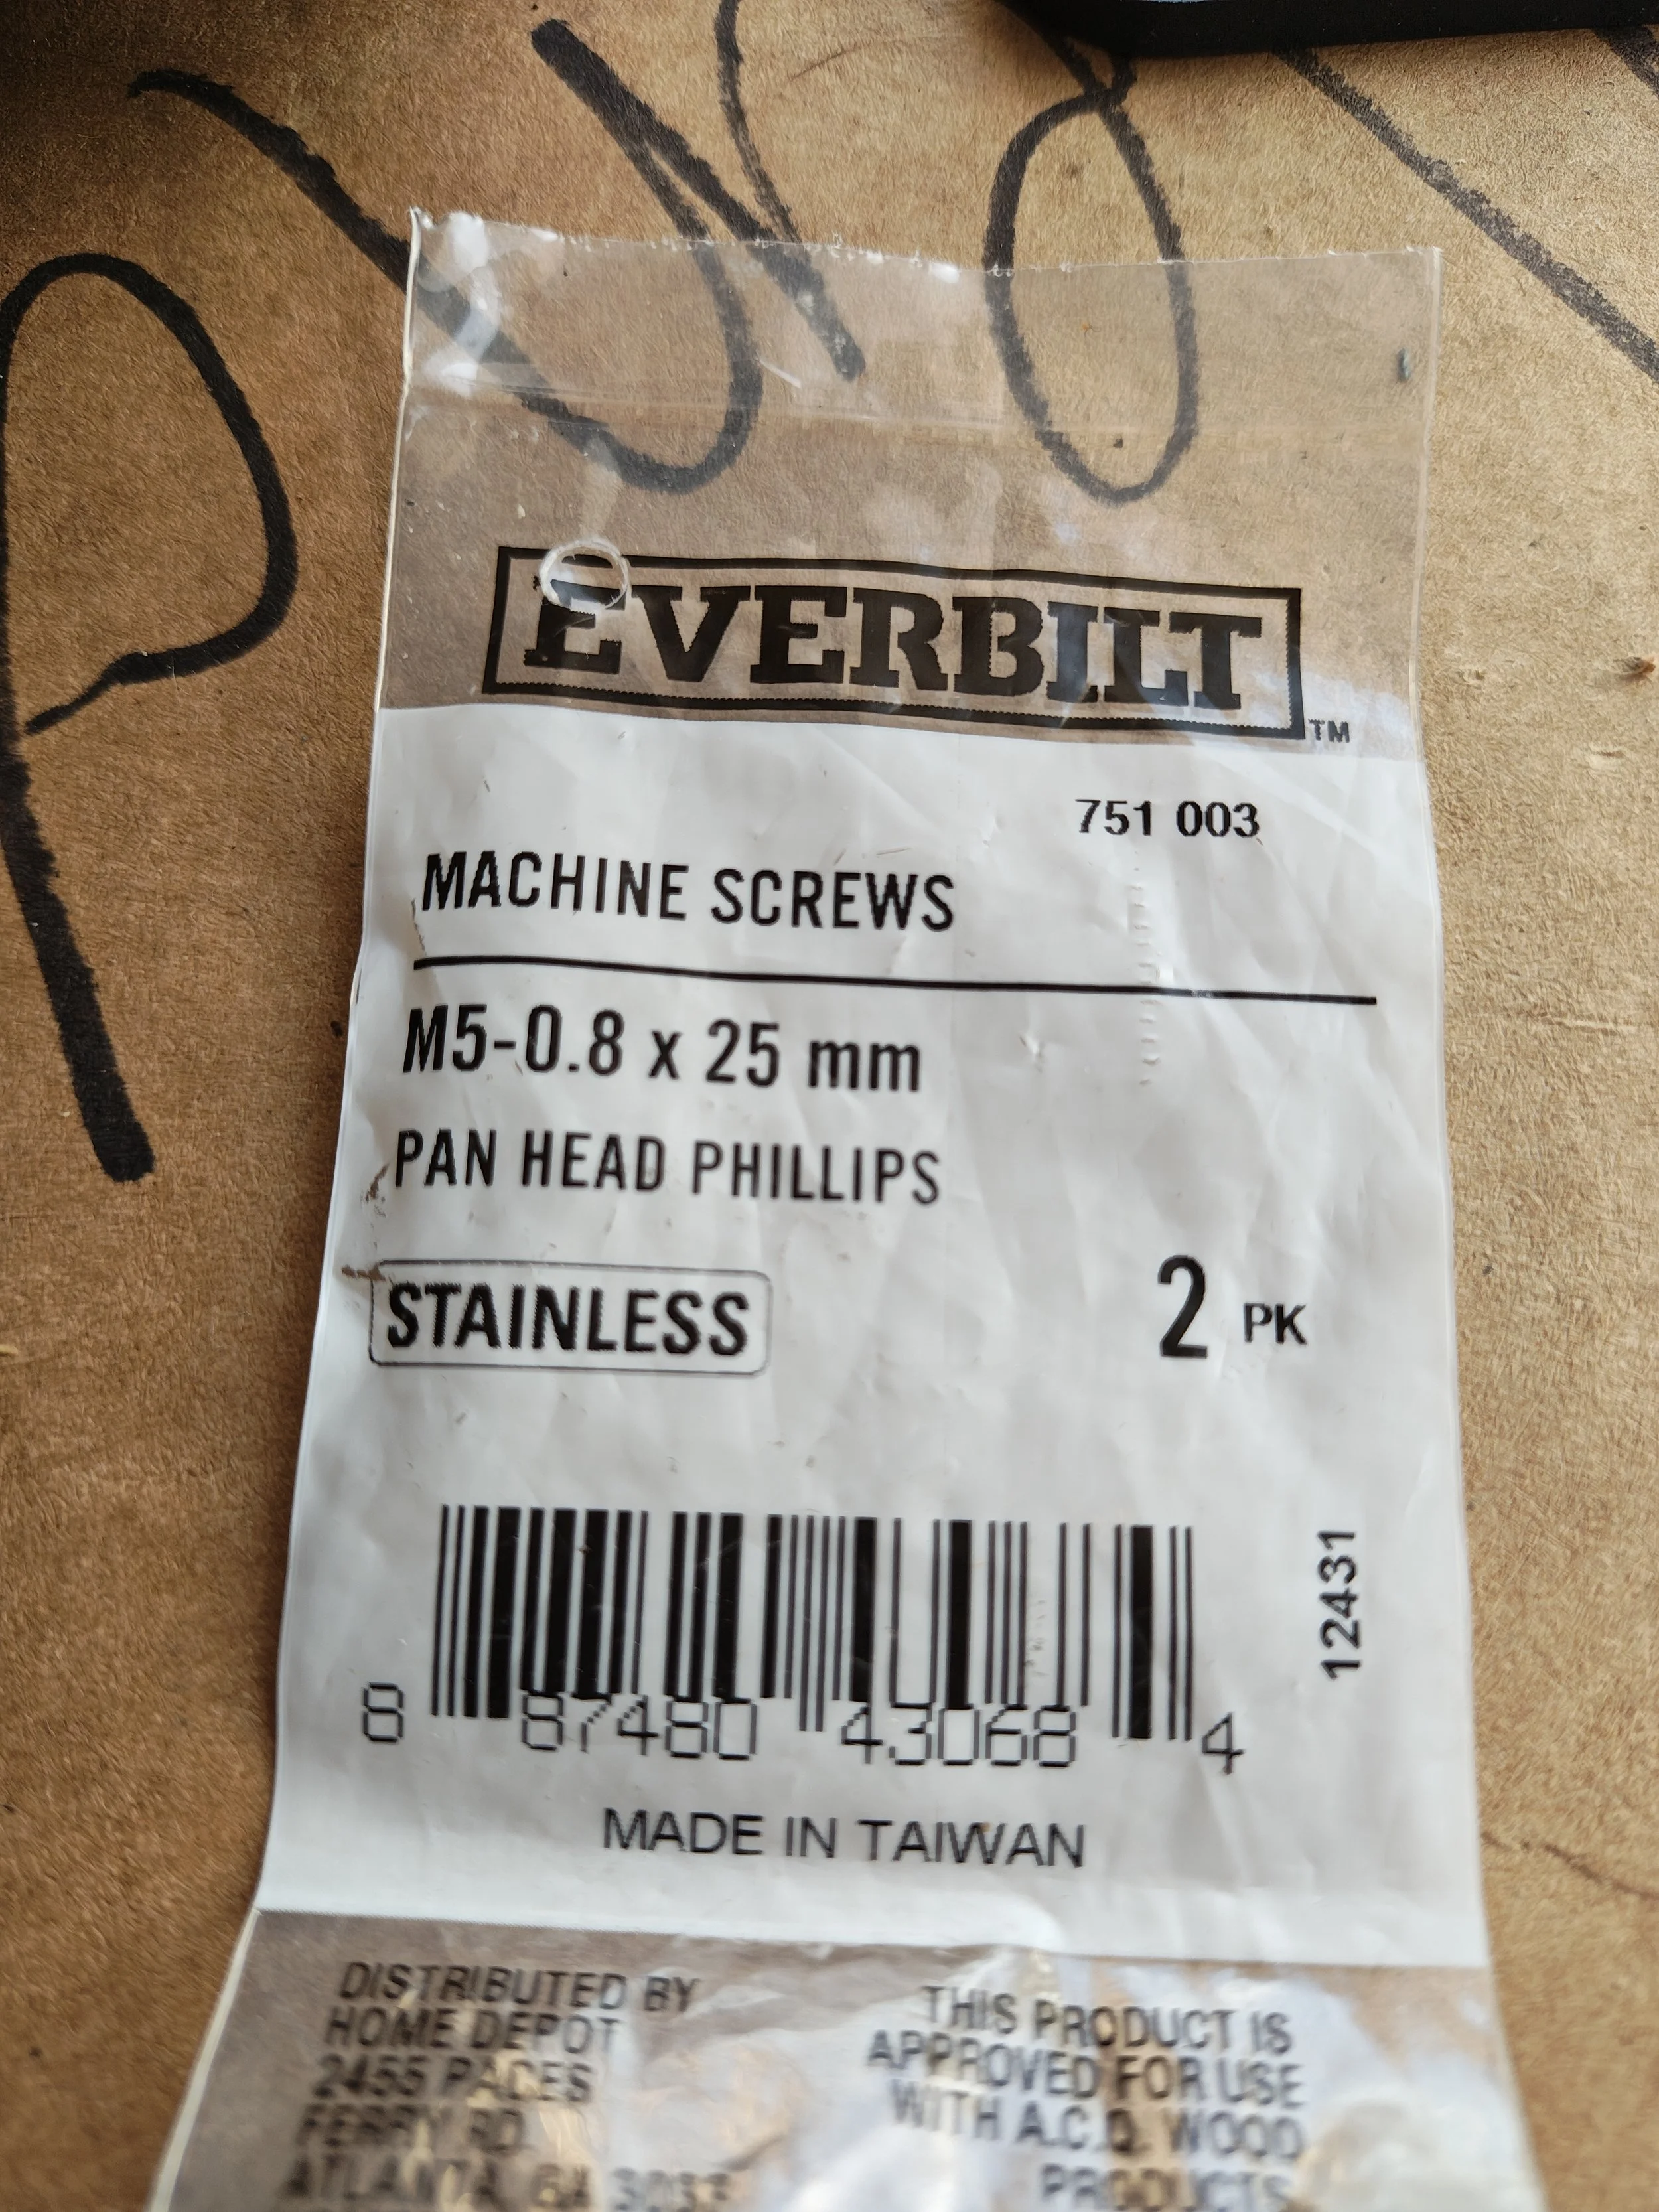
This is where I was able to get the badge to fit using 25mm length screws. I did not use the screws that came with the kit.
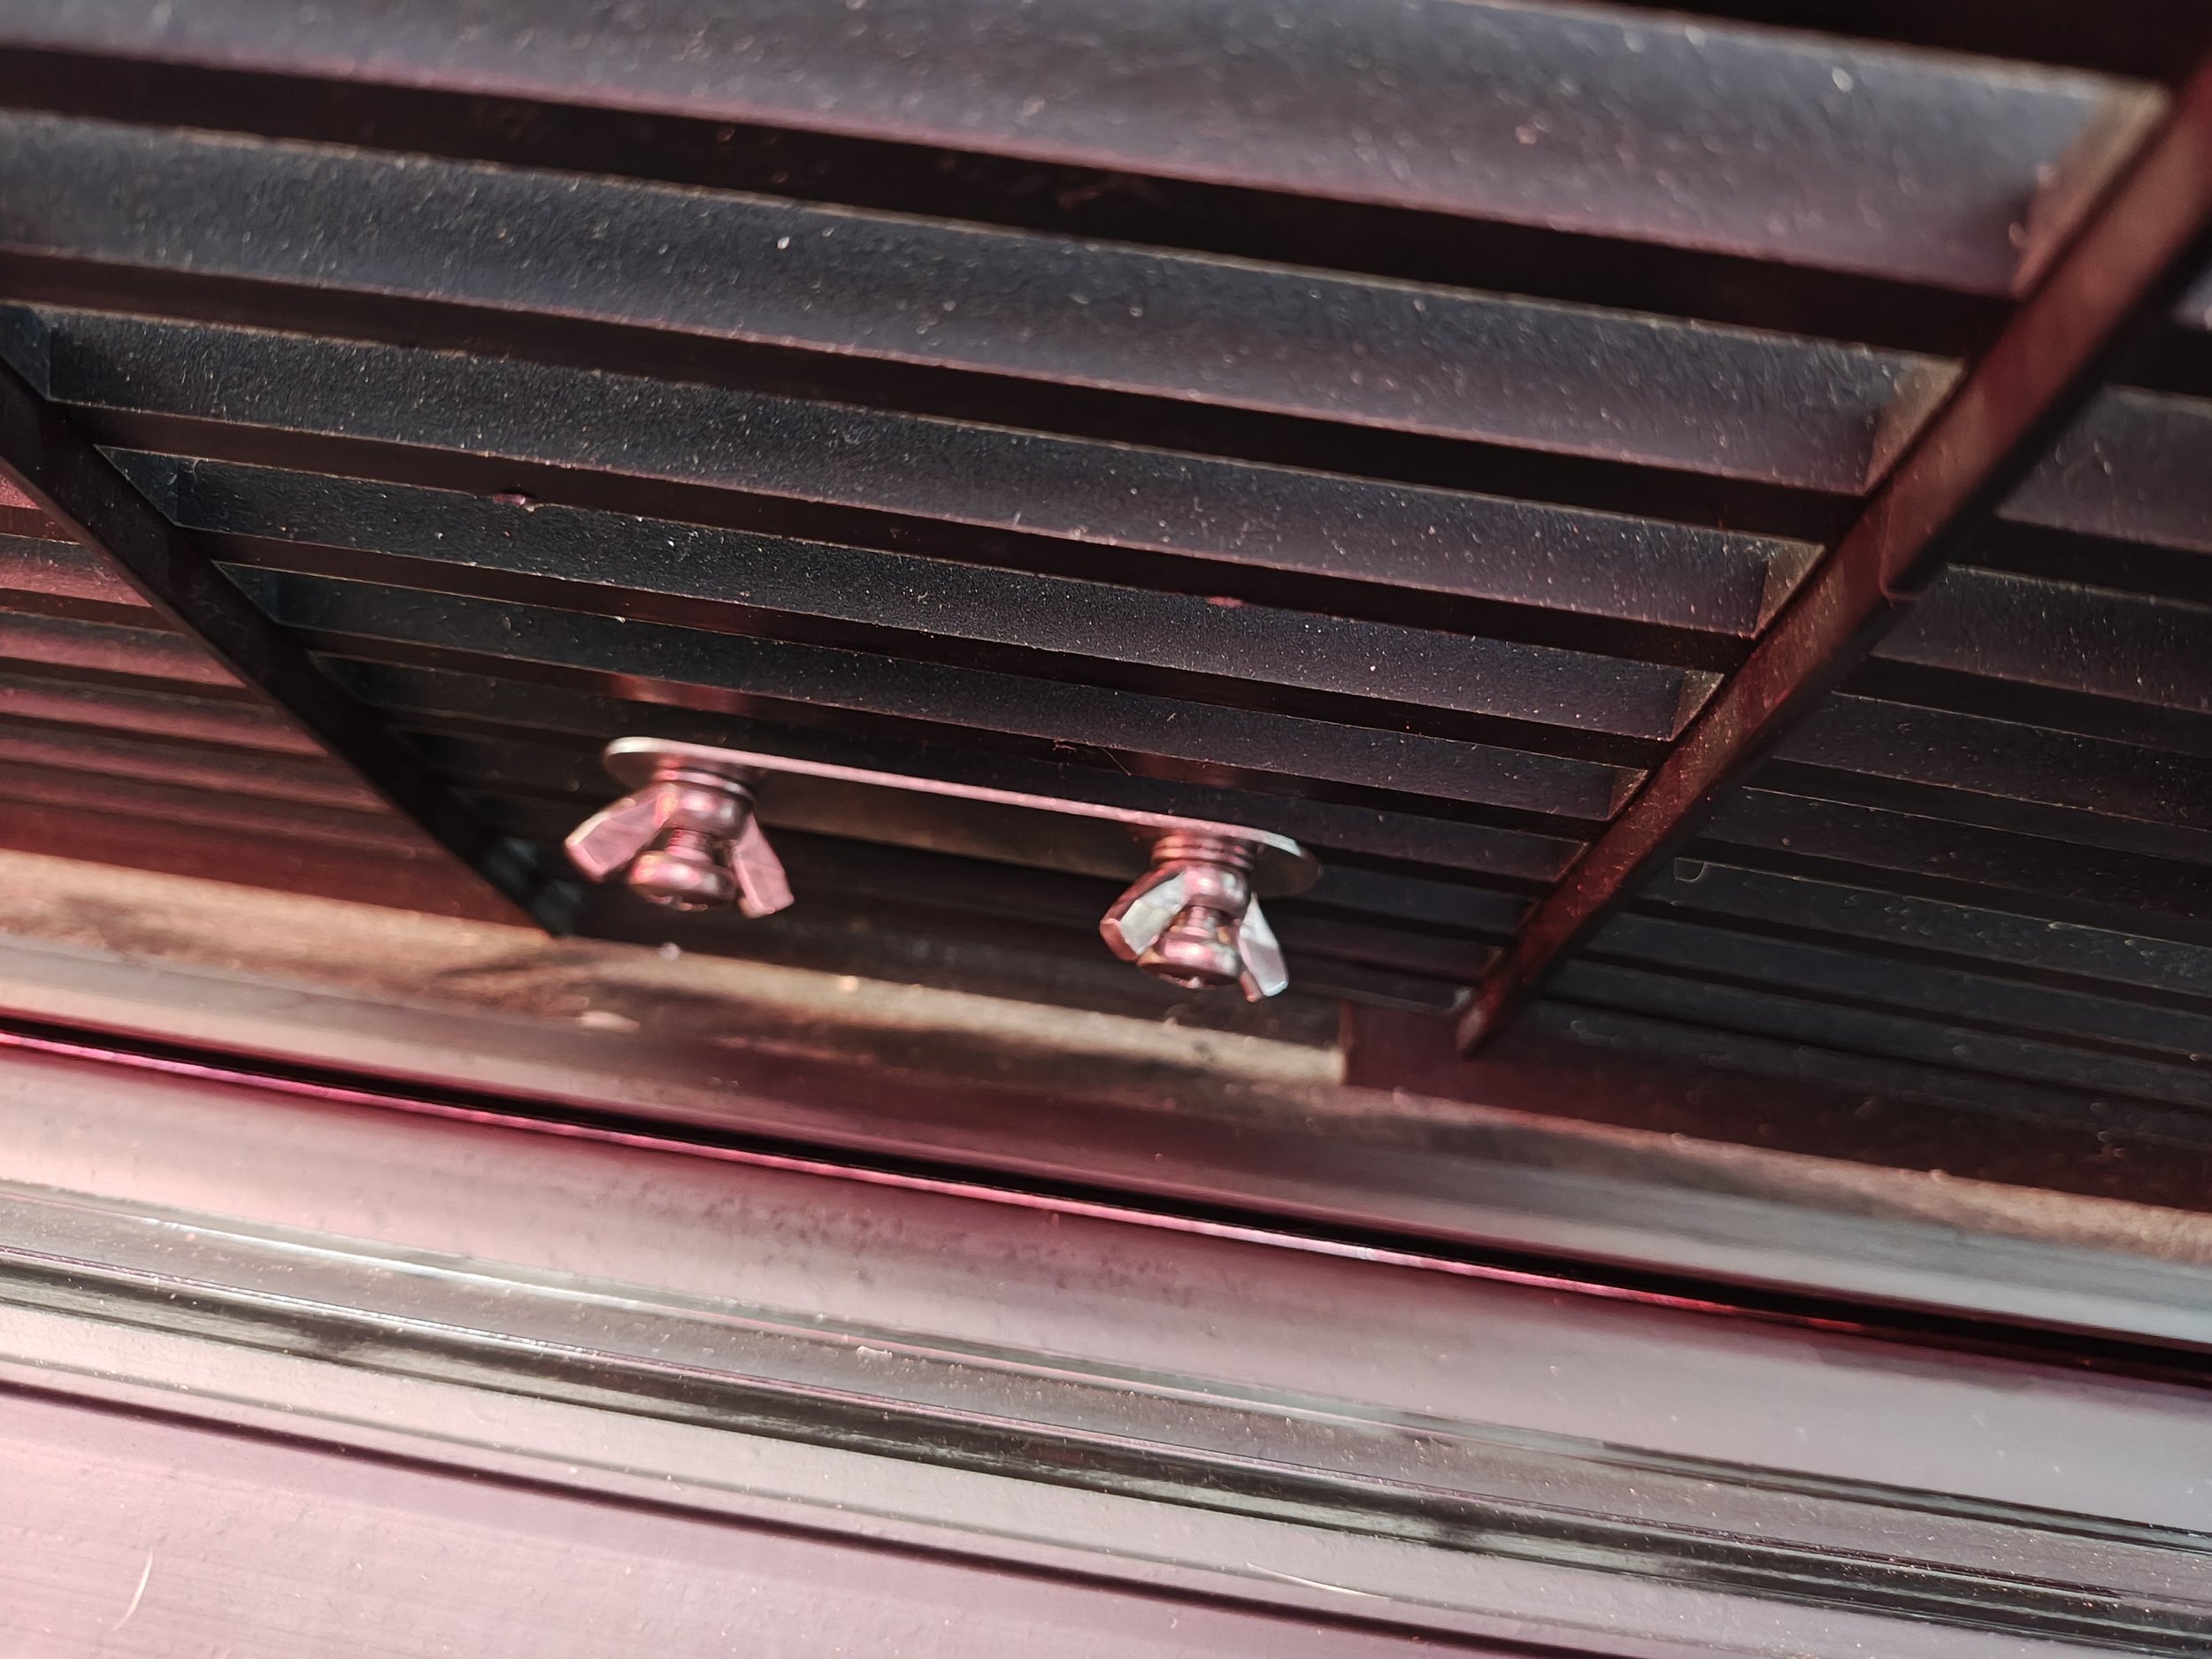
This is what it will look like on the back side. I did use one of the original screws to initially line up the badge. Then I screwed in the plate, 25mm screw, wing nut, and washer into the other side. Once I got that snug, I removed the original long screw and then installed the matching hardware on the other side. I applied blue Loctite to the screw both on the end that inserts into the badge and a little by the wing nut.
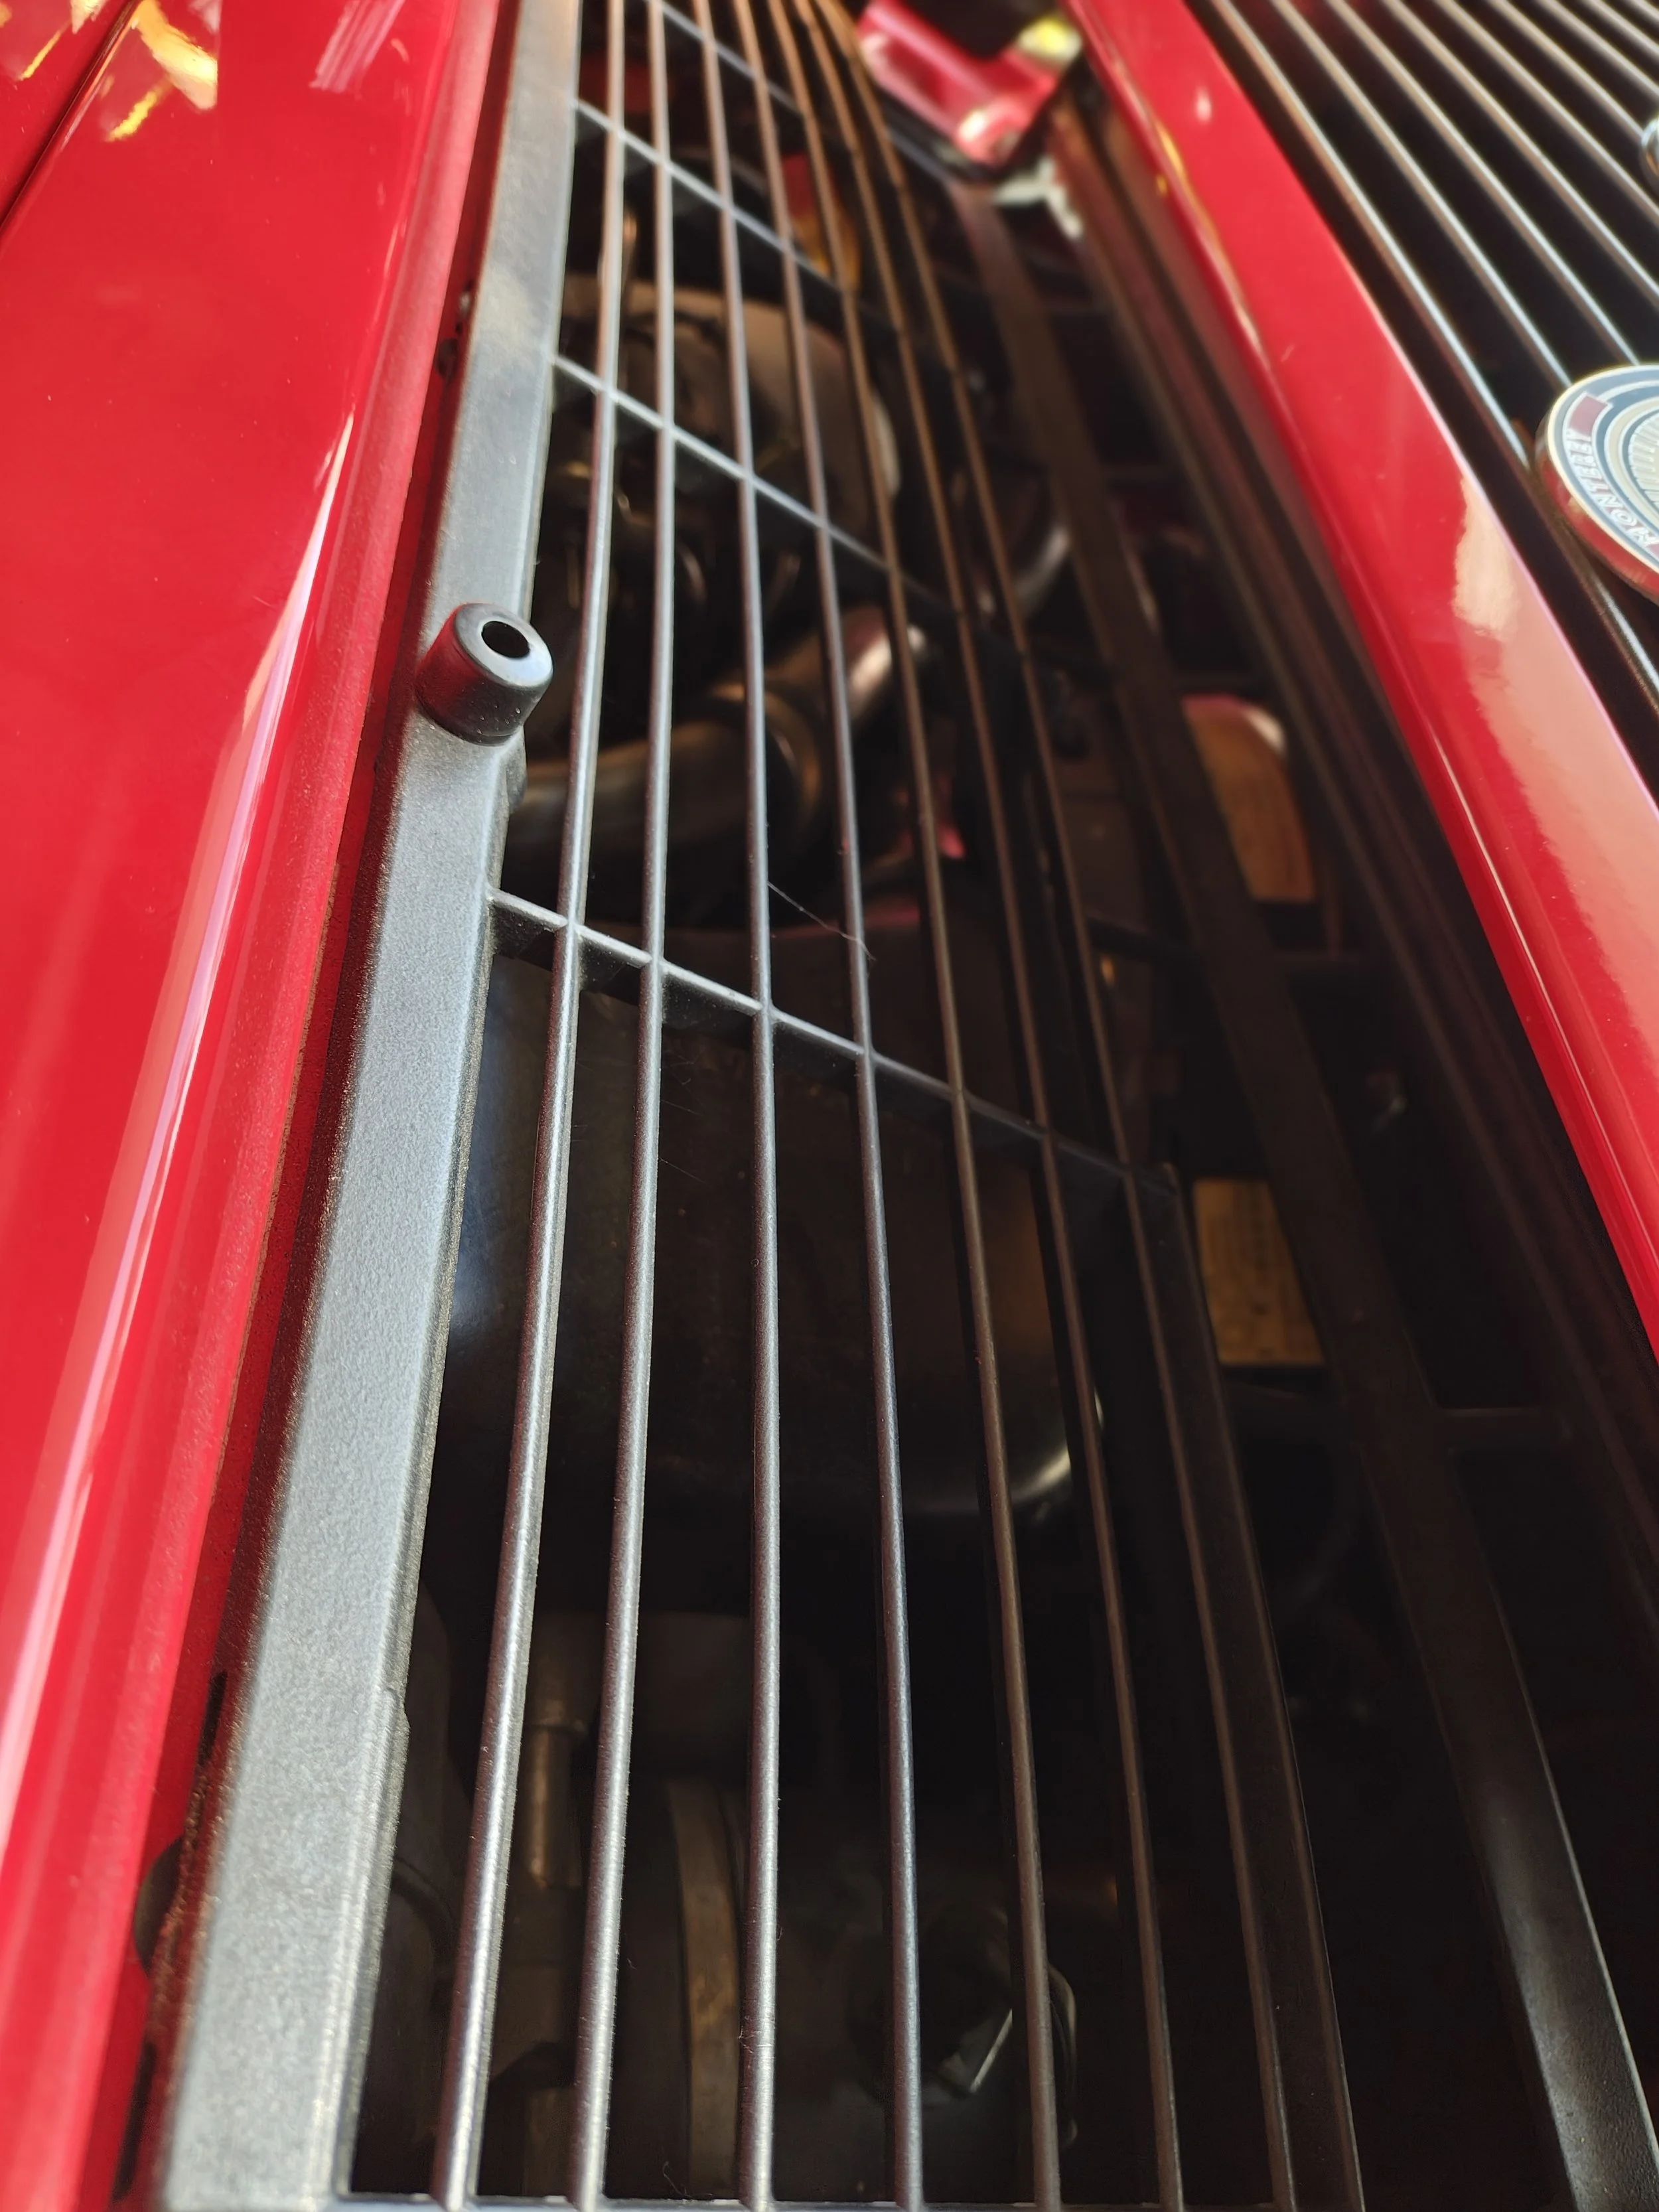
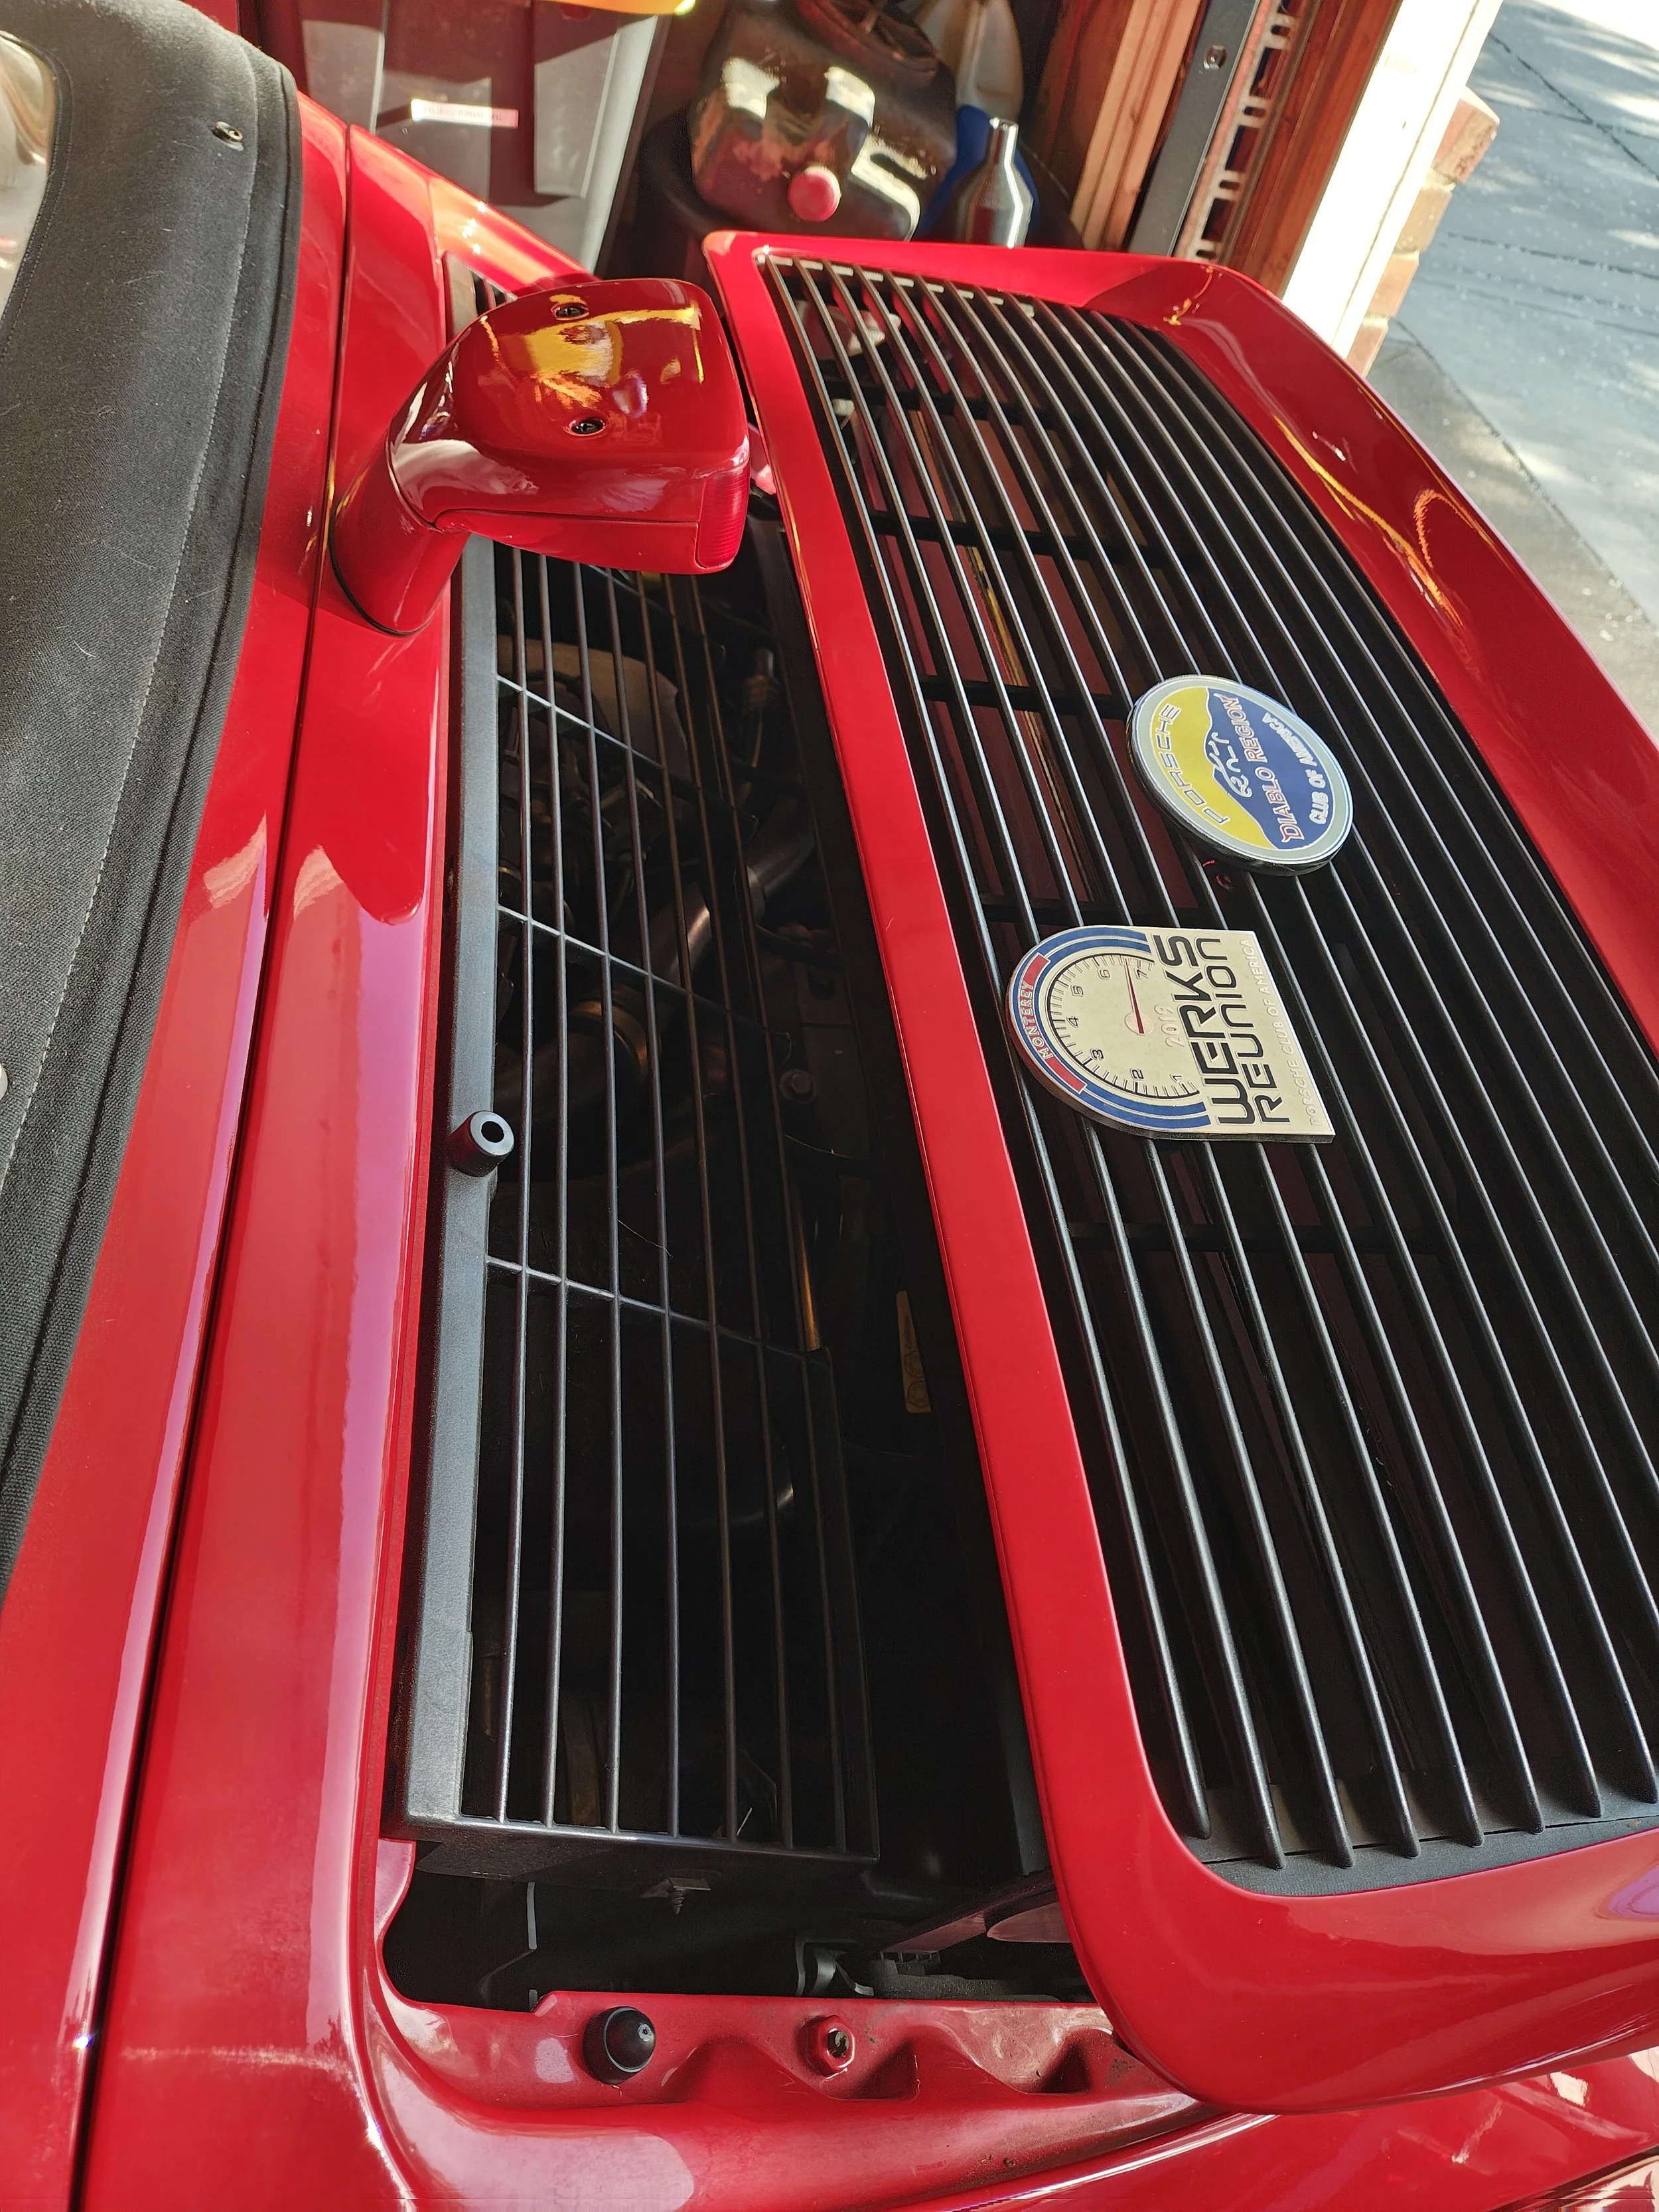
This is the view of the venting that you are working around. You may find other spots have clearance on your specific model. On my 1990 964 the location I found works. Lower the wing slowly and double check the clearance.
Fully installed and the wing bolts re-installed it looked like this.
This is the 25mm screws I used from Home Depot.
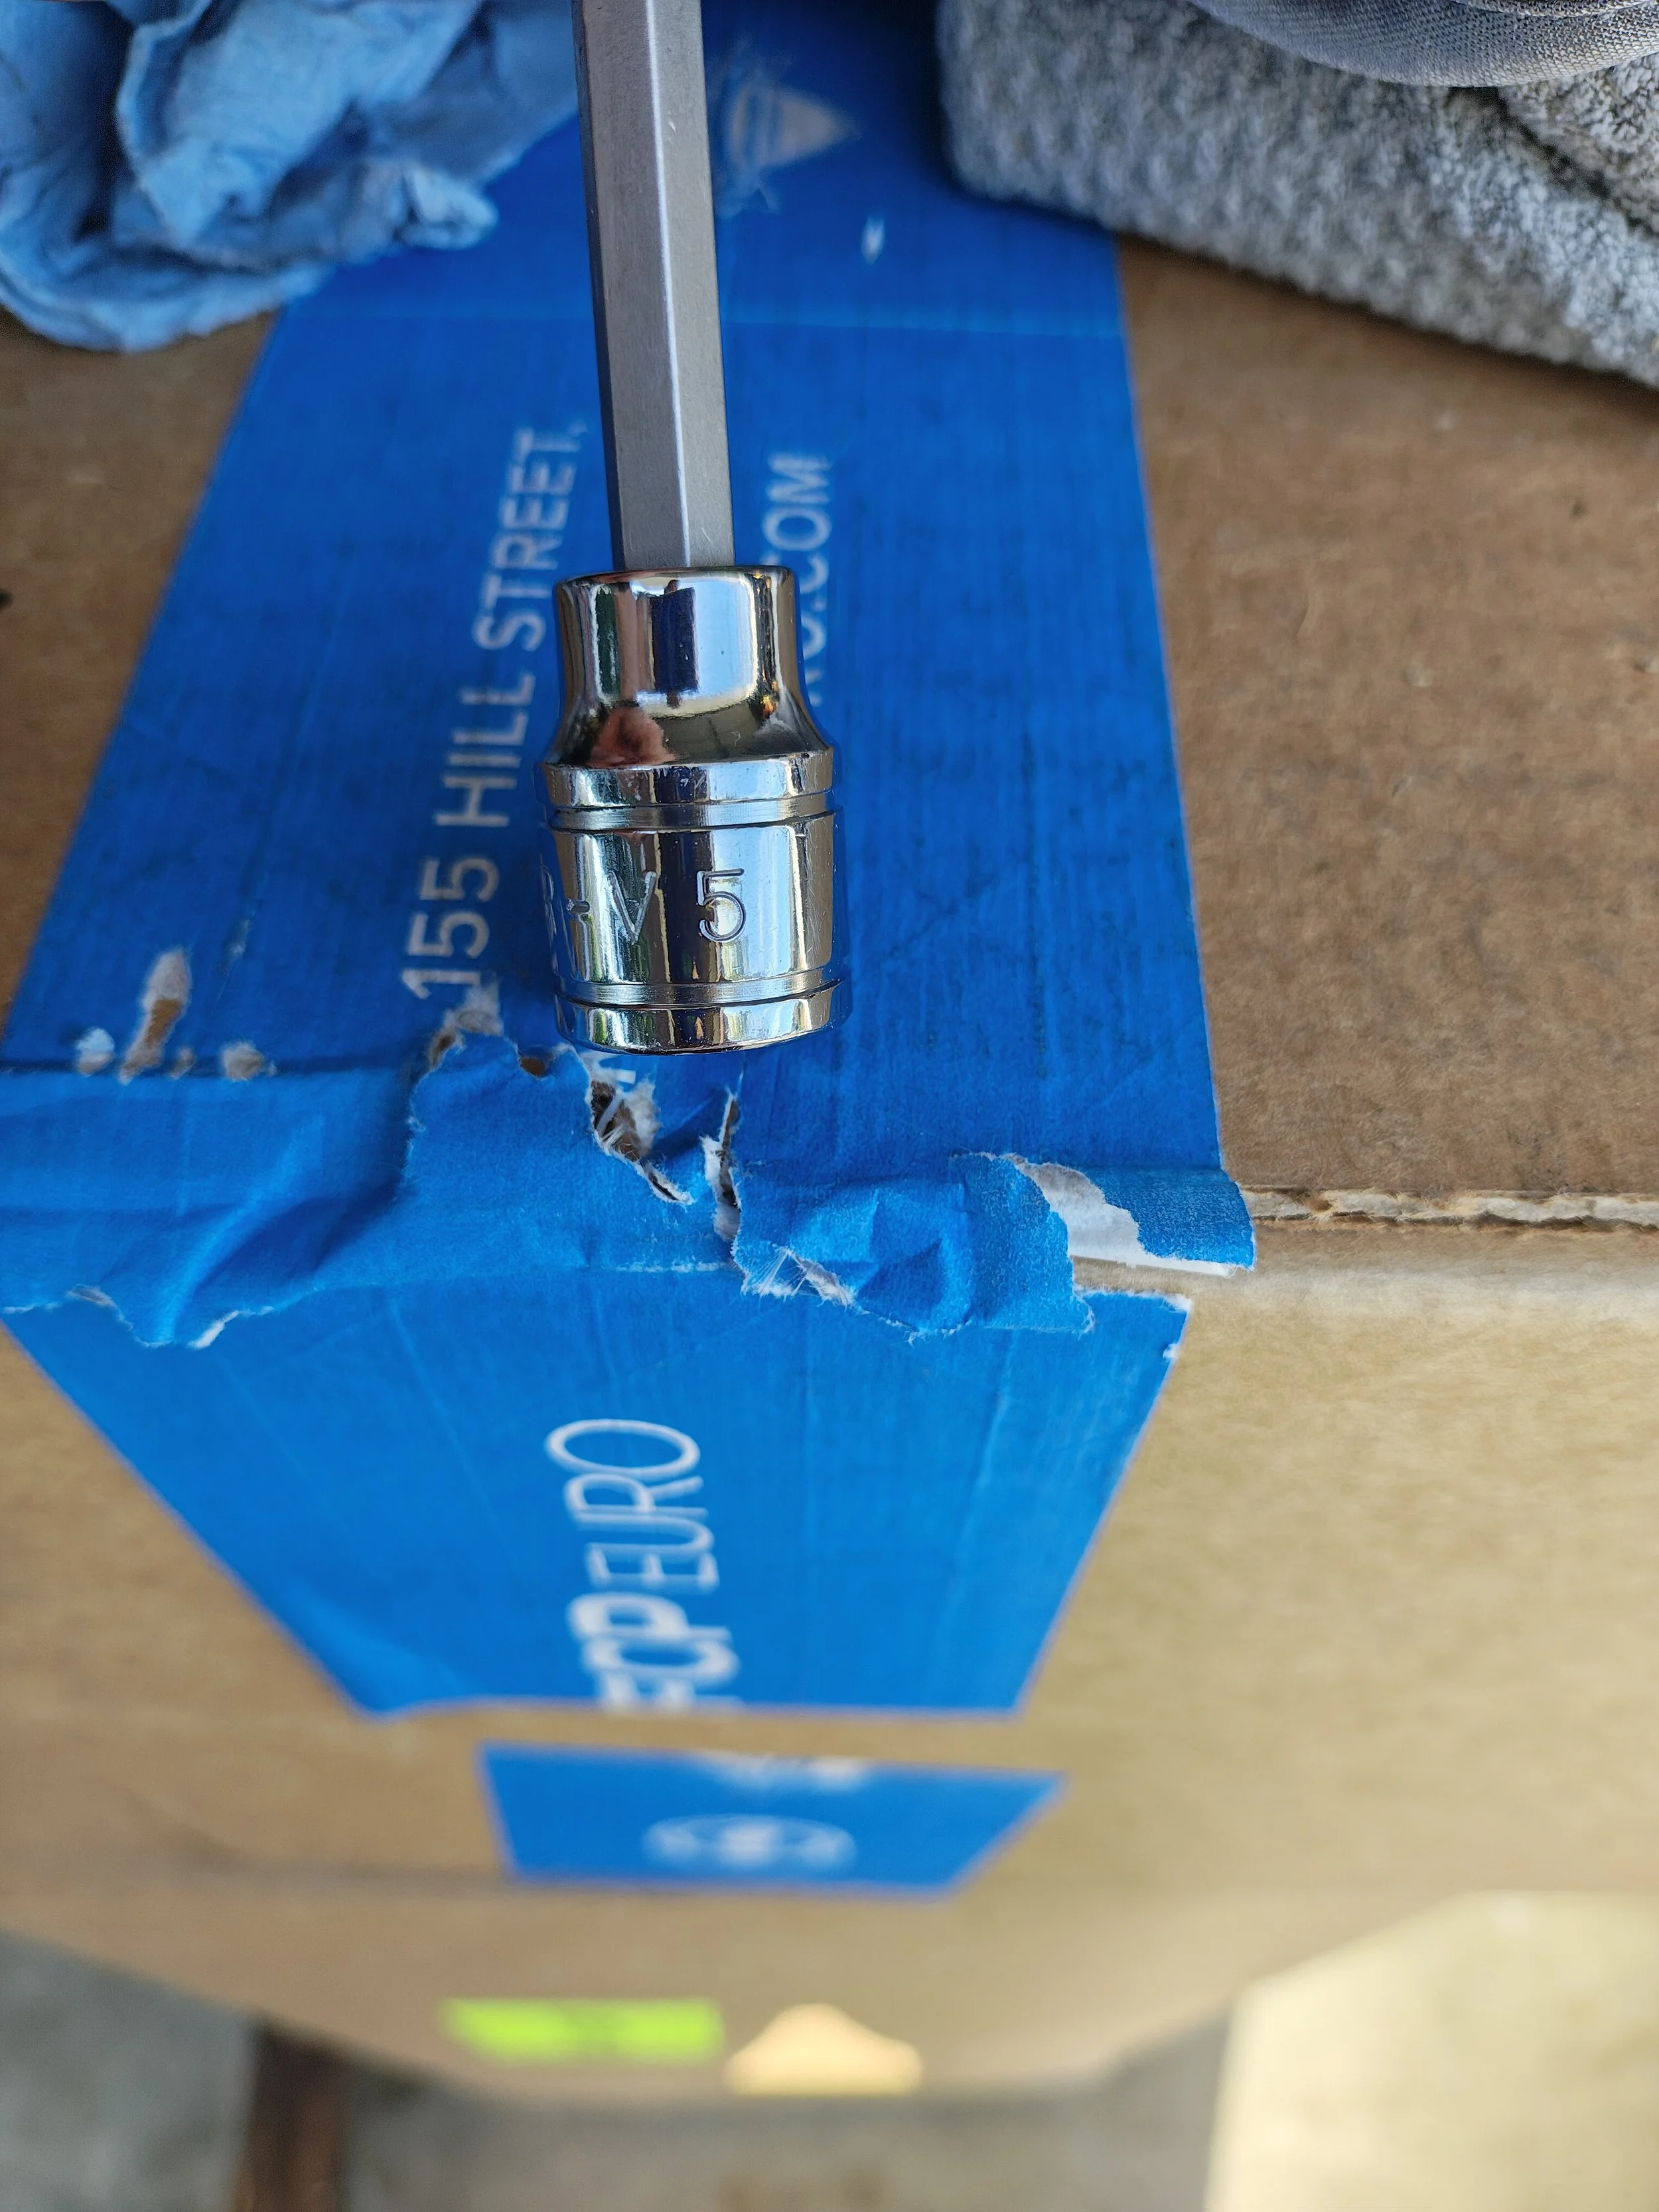
This is the 5mm Allen socket I used to loosen the wing bolts.
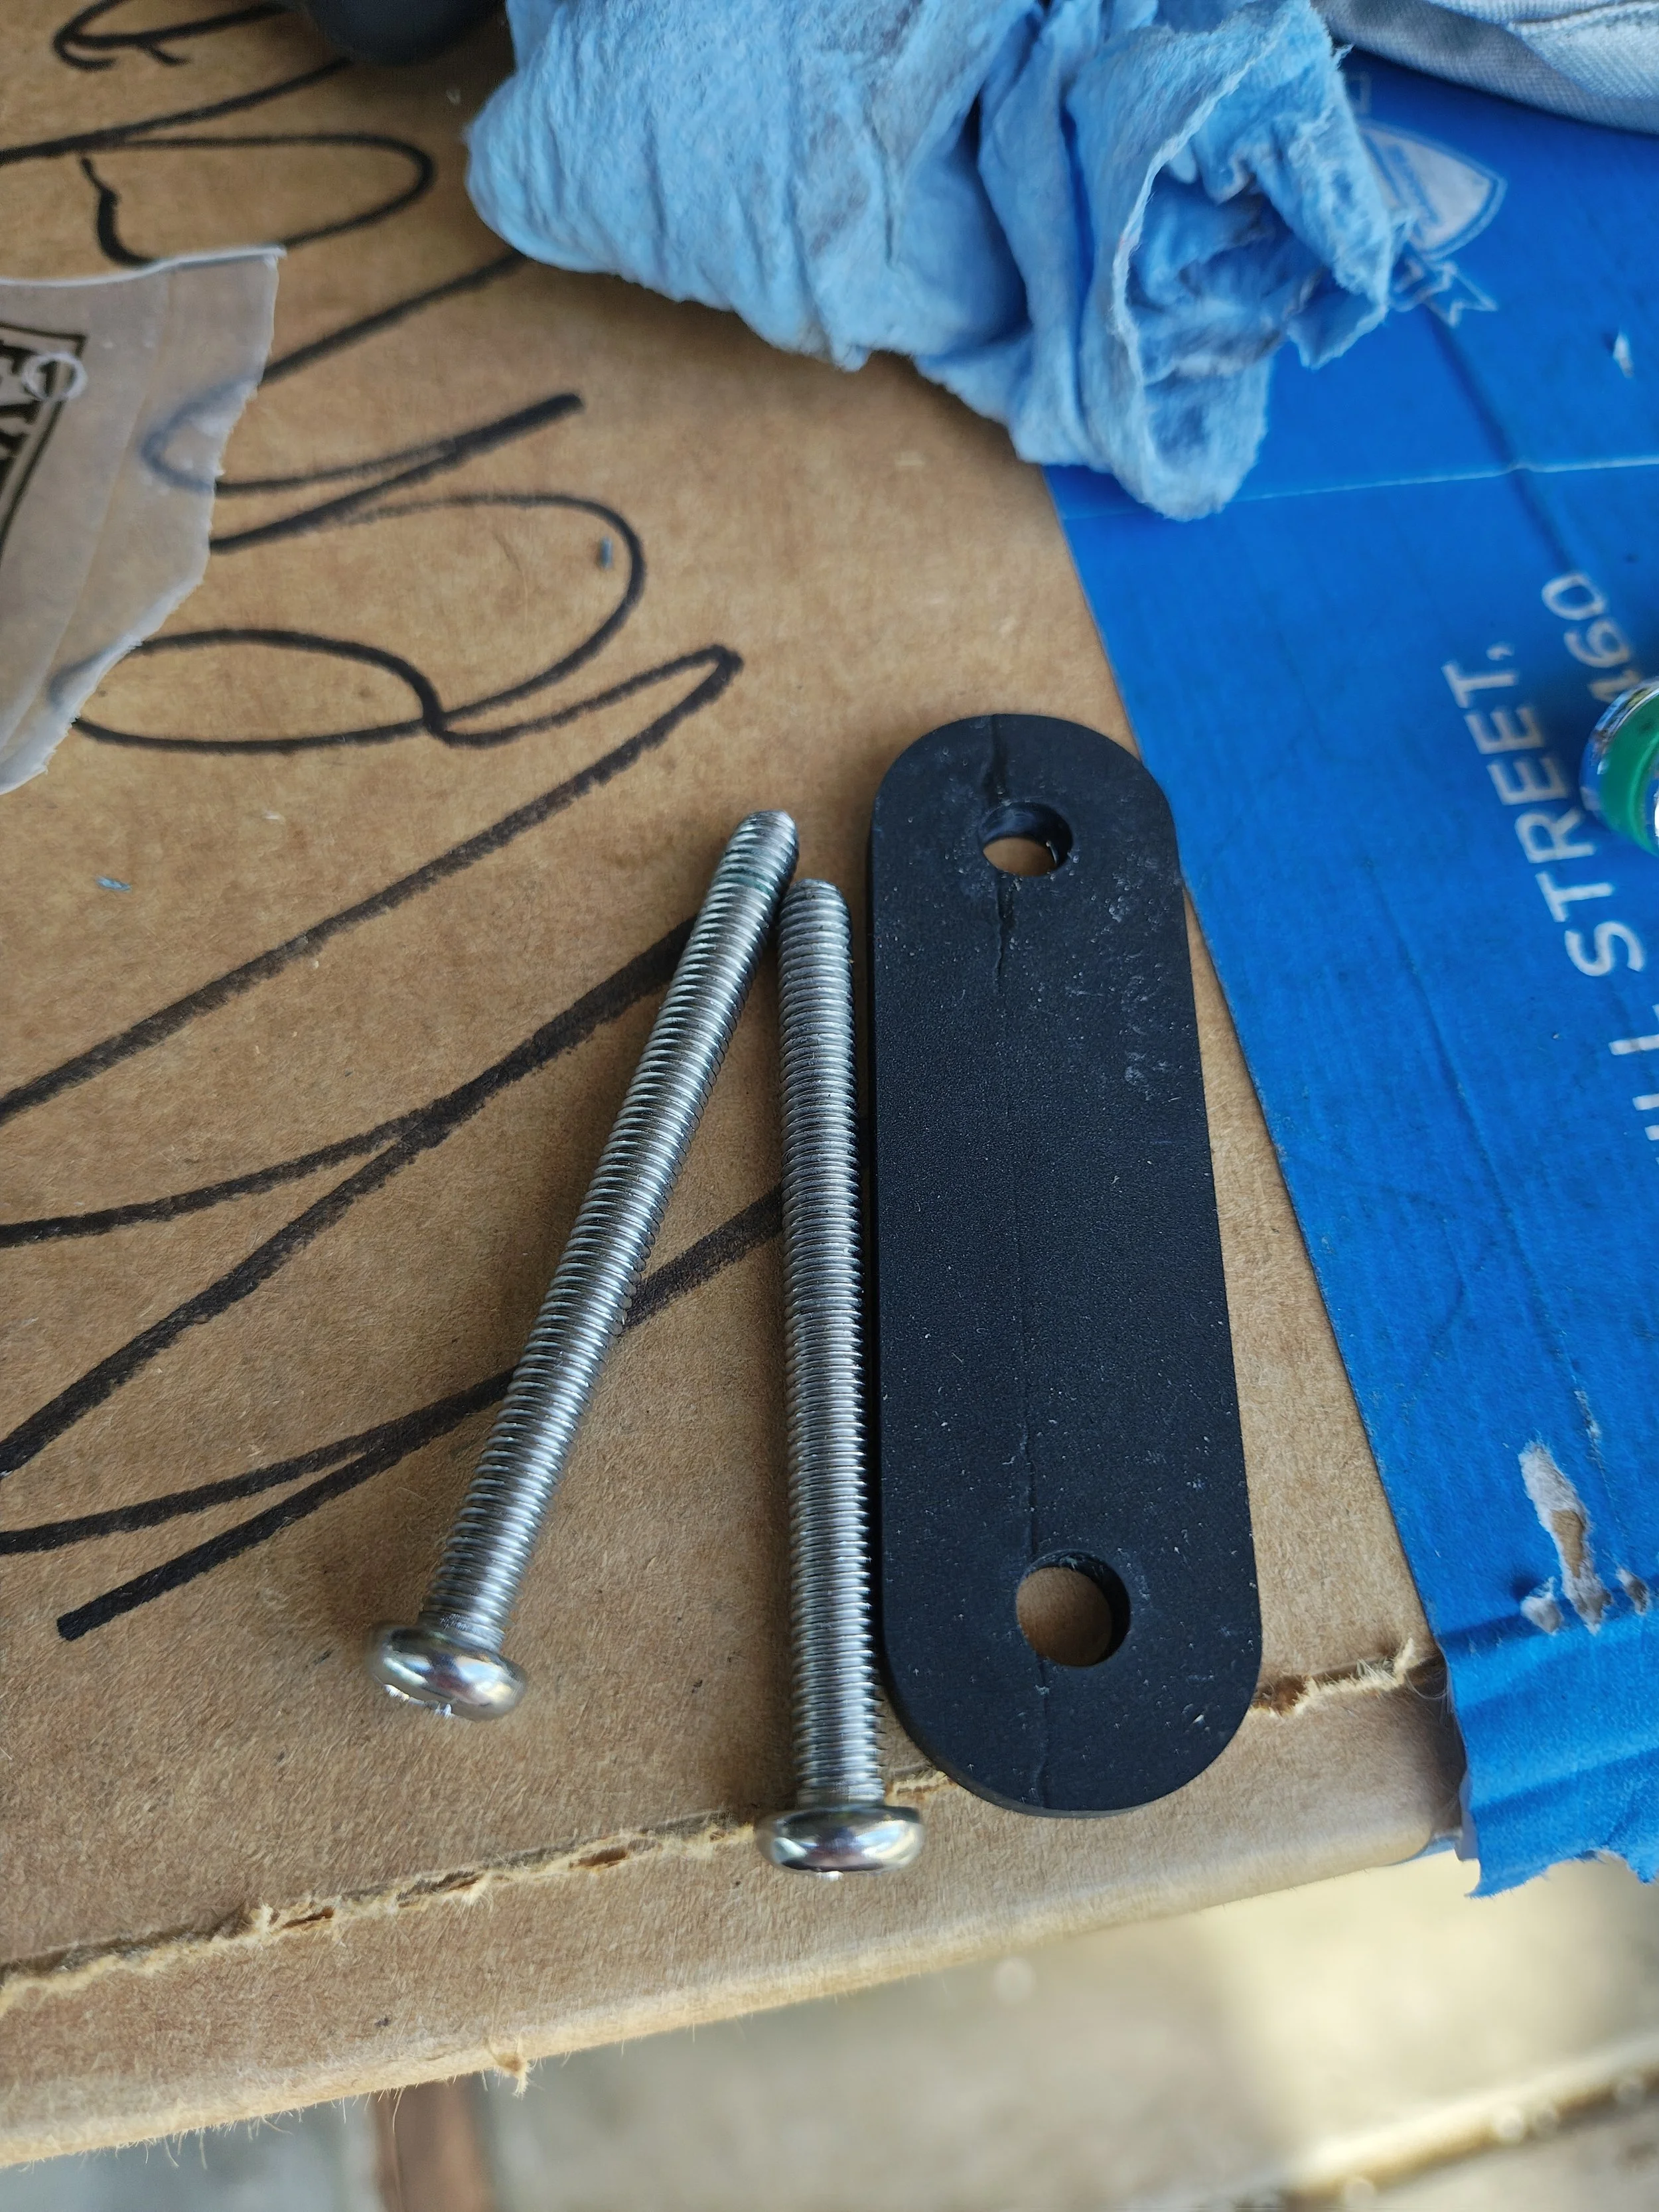
These are the leftovers parts I had from the original kit.
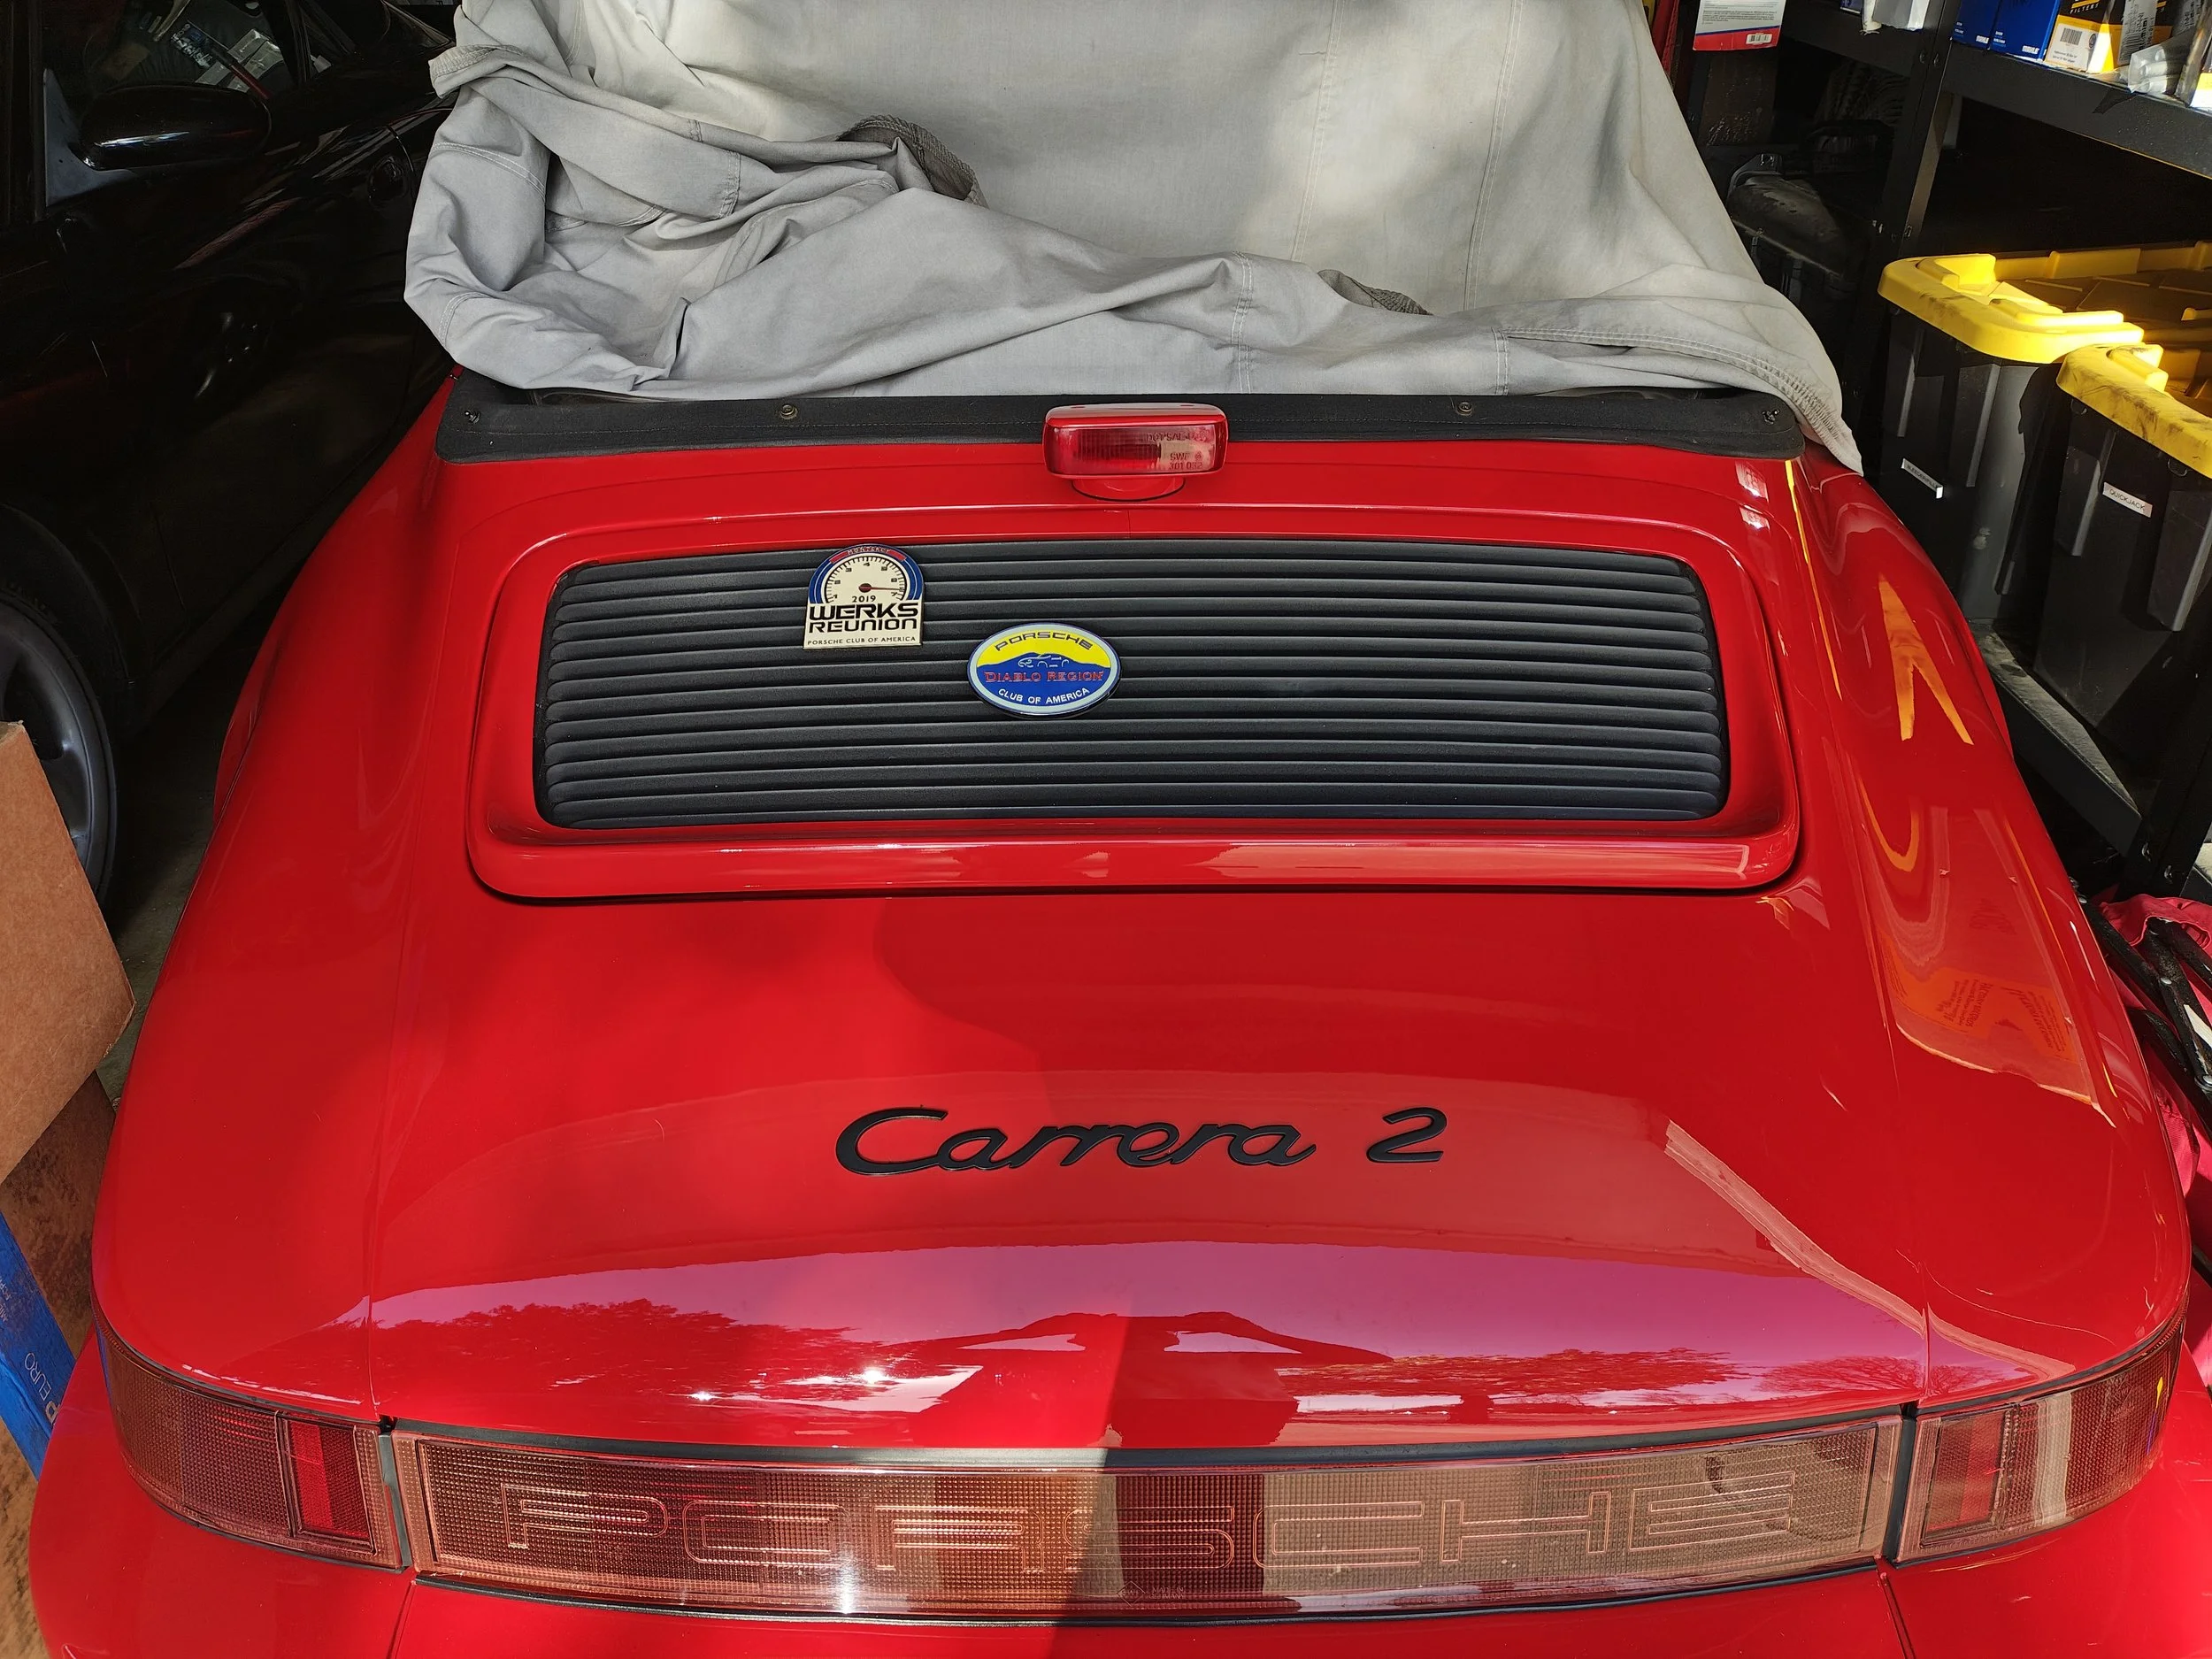
This is what it looks like with the wing fully closed.